Encaustic Technique: Working With Ink
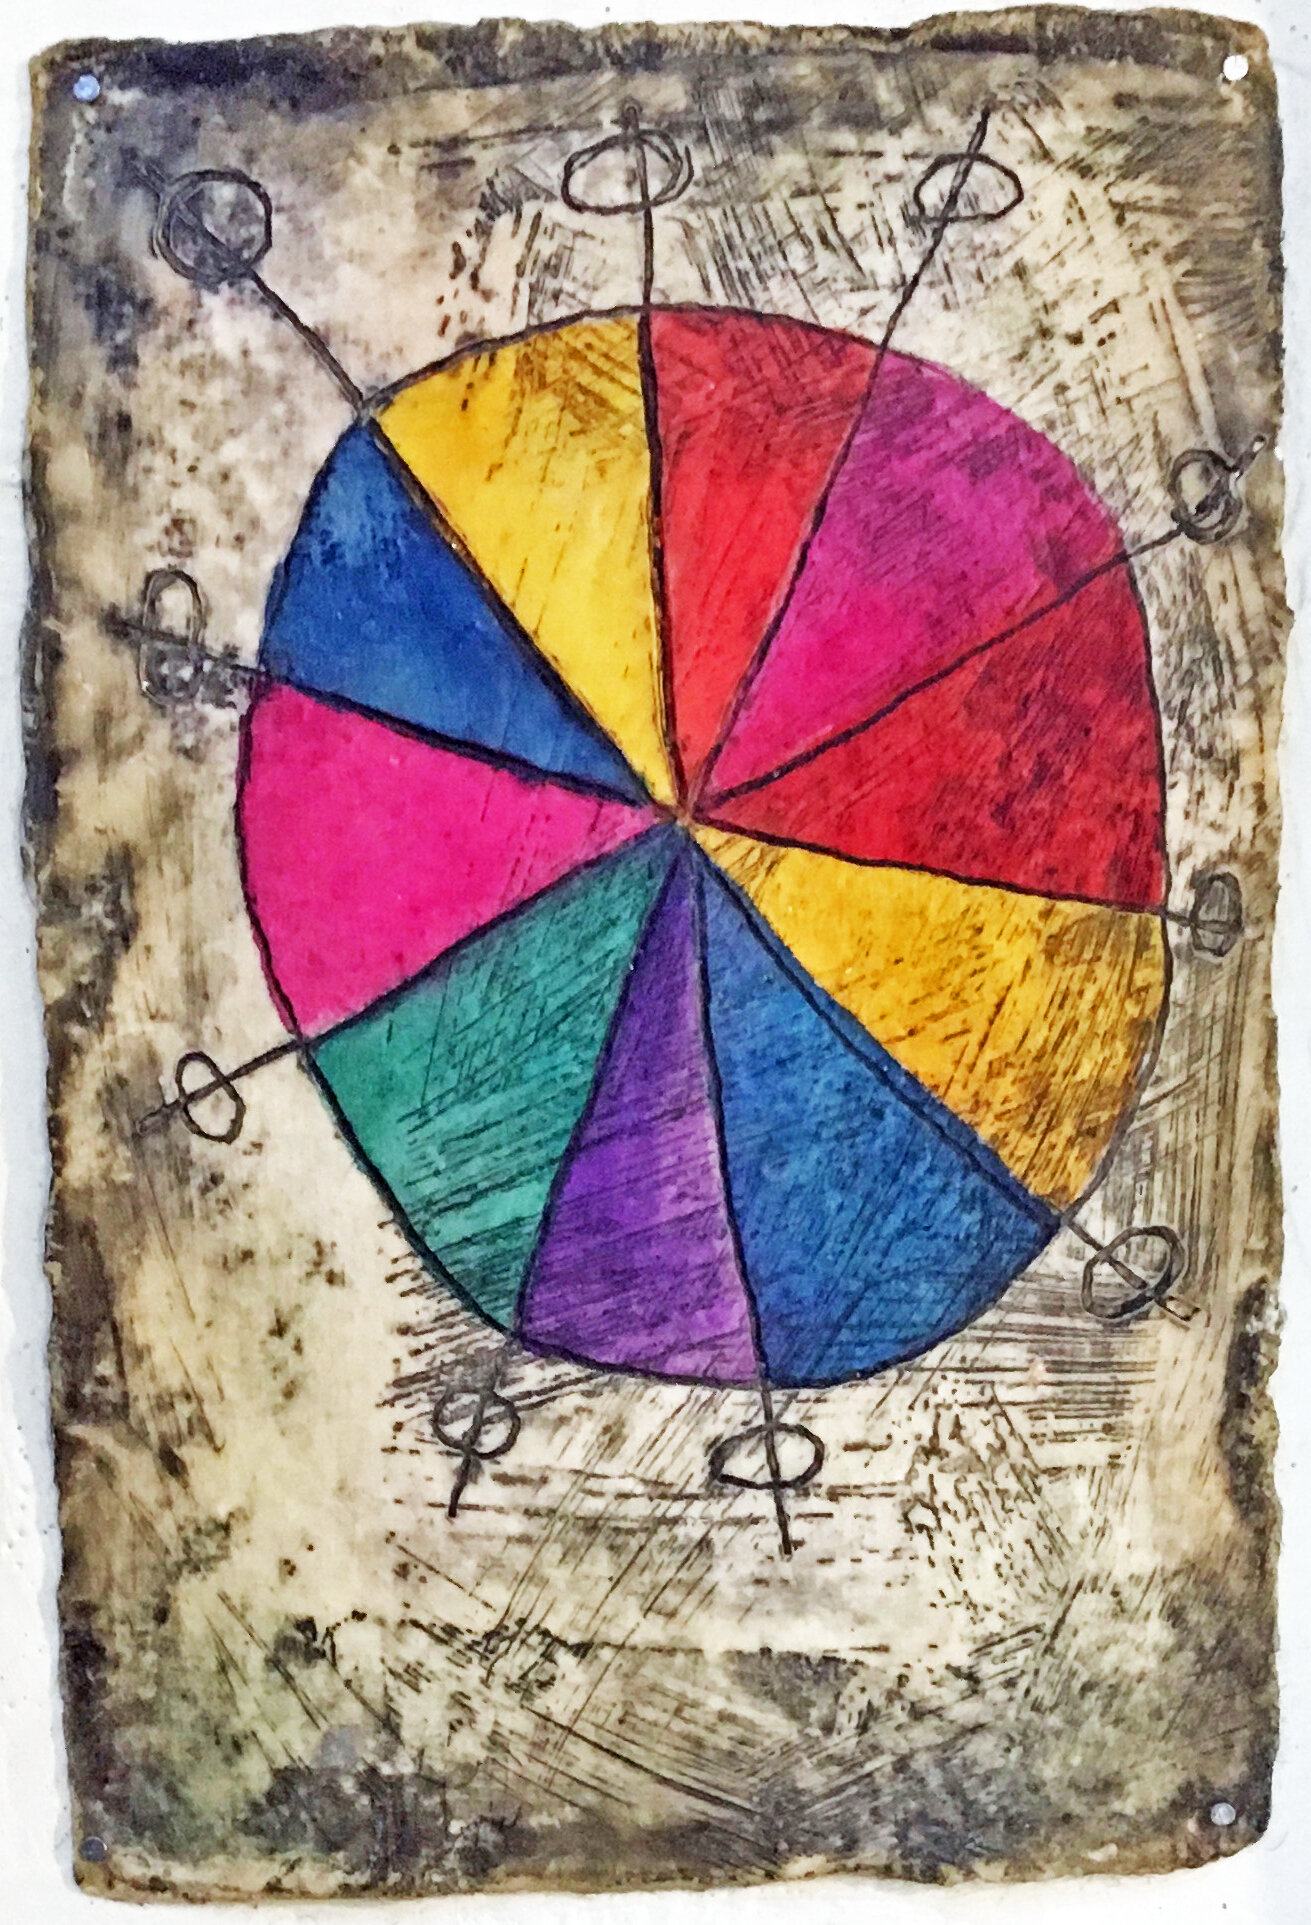
Energized linework, pale washes, and text are just some of the ways ink can provide unexpected elements to your encaustic painting. You can draw, write, or print directly on the wax as a final layer, or you can add encaustic medium on top of dry ink to create a pale wash and faint lines. Once the ink is dry, we recommend lightly fusing the two materials. You'll need to be careful as the ink will travel quickly when heated (unless this movement is desired). This will help the ink from smudging or being scraped over time.
India ink is one of the more common inks used when adding ink to encaustic paintings. It is a waterproof and archival option perfect for use with encaustic. These inks are available in a broad range of colors and can be watered down for a watercolor effect, added to a spray bottle for use with stencils, and for calligraphy with nib-based pens for various drawing and graphic styles.
Leslie Giuliani, Watercolor 1, 5” x 5”, gouache, wax, and ink on panel.
Here are the basic steps for getting started with India ink and encaustic.
1. Begin by painting and fusing a layer of encaustic medium or encaustic color onto your panel.
2. Optional - scrape or build texture into the wax.
3. After the wax has cooled, brush, or draw onto the wax surface with ink. Allow water to evaporate completely. If your wax layer is textured, ink will fill these areas and accentuate the contrast of these marks.
4. Lightly fuse ink with a heat gun or butane torch. If you fuse too much the ink will move or crack.
5. Optional - brush a thin layer of encaustic medium over the painted ink to mute the contrast of the ink.
Now that you've got the basics, it's worth exploring some more of the many ways ink can be applied with encaustic. We checked in with a few artists to find out how they are using ink with encaustic.
Leslie Giuliani, Watercolor 2, 5” x 5”, gouache, wax, and ink on panel.
Leslie Giuliani uses watercolor, gouache, R&F Pigment Sticks, and Sumi ink to enhance encaustic paintings. Leslie describes the steps in her process below.
"After you create your watercolor painting, fuse a layer of encaustic medium to the surface, being careful to cover the entire surface with enough depth to scratch into but not so thick as to lose the luminosity of the painting. If you miss an area, the Pigment Stick will permanently stain the substrate. Allow the painting to cool completely. Scratch outlines, tiny details, or words into the wax with a needle tool or stylus. You can also sand the surface with rough grit sandpaper to create surface noise. Brushstrokes and pinholes left in the wax will add texture, as well.
Next, take some Pigment Stick (multiple colors, if you like), or Sumi ink for a deep black, and rub into the scratches. You'll need to push the paint into the texture, not just wipe on top. This will make the scratches visible and leave the tone on the surface. The tone can be removed with R&F Blending Medium. Go slowly and thoughtfully. You don’t need to remove all the tone, just what is not essential to the painting. If you want to add more lines or scratches, repeat the process. When you are done, fuse lightly or allow it to dry naturally."
Lorraine Glessner, Inside Outside, 24” x 24”, encaustic, mixed media, and collage on wood.
Lorraine Glessner's work is filled with dynamic texture and brushstrokes. She often uses inks to achieve much of this layered beauty. "My favorite water-based media to use in combination with encaustic is a product called Instant Indigo (freeze-dried indigo crystals). As a painting medium, instant indigo is unique and quite versatile and when used on fabric or paper, can create unique collage material that can be embedded into your encaustic layers. The rich indigo color is unmistakable in that there really is nothing else like it’s clear blue with a hint of a green hue.
What I find most exciting is that it can be painted directly on top of the encaustic surface, which allows for the painting of thin lines with tiny brushes, applying layers of lines or thin pools of translucent indigo color. The crystals can also be mixed with a variety of media other than water to enrich the color and/or reduce the beading of the media on the encaustic surface. The instructions below explain the basic mixing of the indigo for painting as well as offer suggestions for alternative liquids other than water. "
1. Mix in a small dixie cup ½ tsp to ¼ cup or less of warm water.
2. Mix only as much as needed for use within 1-4 hours--as time passes the dye oxidizes and begins to lose its potency.
3. Add a pinch or two of the crystals to the water- the amount depends on how thick you would like the paint to be. The thicker the paint, the less beading up on the encaustic surface and a more continuous line can be achieved.
4. Stir slowly so as not to allow any air bubbles into the dye.
5. Warm the encaustic surface slightly with a heat gun.
6. Paint, drip, stamp, etc. the indigo onto the encaustic surface.
7. Air dry or dry the indigo with a heat gun.
8. IMPORTANT: All water must be dry in order to proceed with the next step.
9. Cover the indigo area with a thin layer of encaustic medium to protect it and either add additional layers of indigo or another painting or mark-making process.
10. NOTE: As an alternative to water, try mixing the indigo crystals with a soy milk or Speedball Super Black Ink. Both add thickness to the indigo as well as create a slight difference in color.
Jane Allen Nodine, Trace.061, 24” x 12”, encaustic and oxidized metal (rust) on paper.
We recently interviewed artist Jane Allen Nodine. Jane regularly works with inks in her encaustic practice. She uses inks on an absorbent base layer and then works with encaustic to build up a lively surface.
"I have many years of working with alternative substances in my art so exploring inks and dyes came naturally to my studio practice. Because wax is a natural material with a deep sense of history, and my lifelong connection to the joys of nature, I began researching oxidation techniques and plants that could be used to tint and dye papers and fabrics that served as base materials in my encaustic painting. I have used rust from metal in my work for and I then began to making walnut ink and that led to looking at other substances such as liken, onion skin, and various roots and plants. I enjoy the subtle qualities but especially the connection of natural to natural."


