
Artist Insights: Smooth Surfaces with Dietlind Vander Schaaf

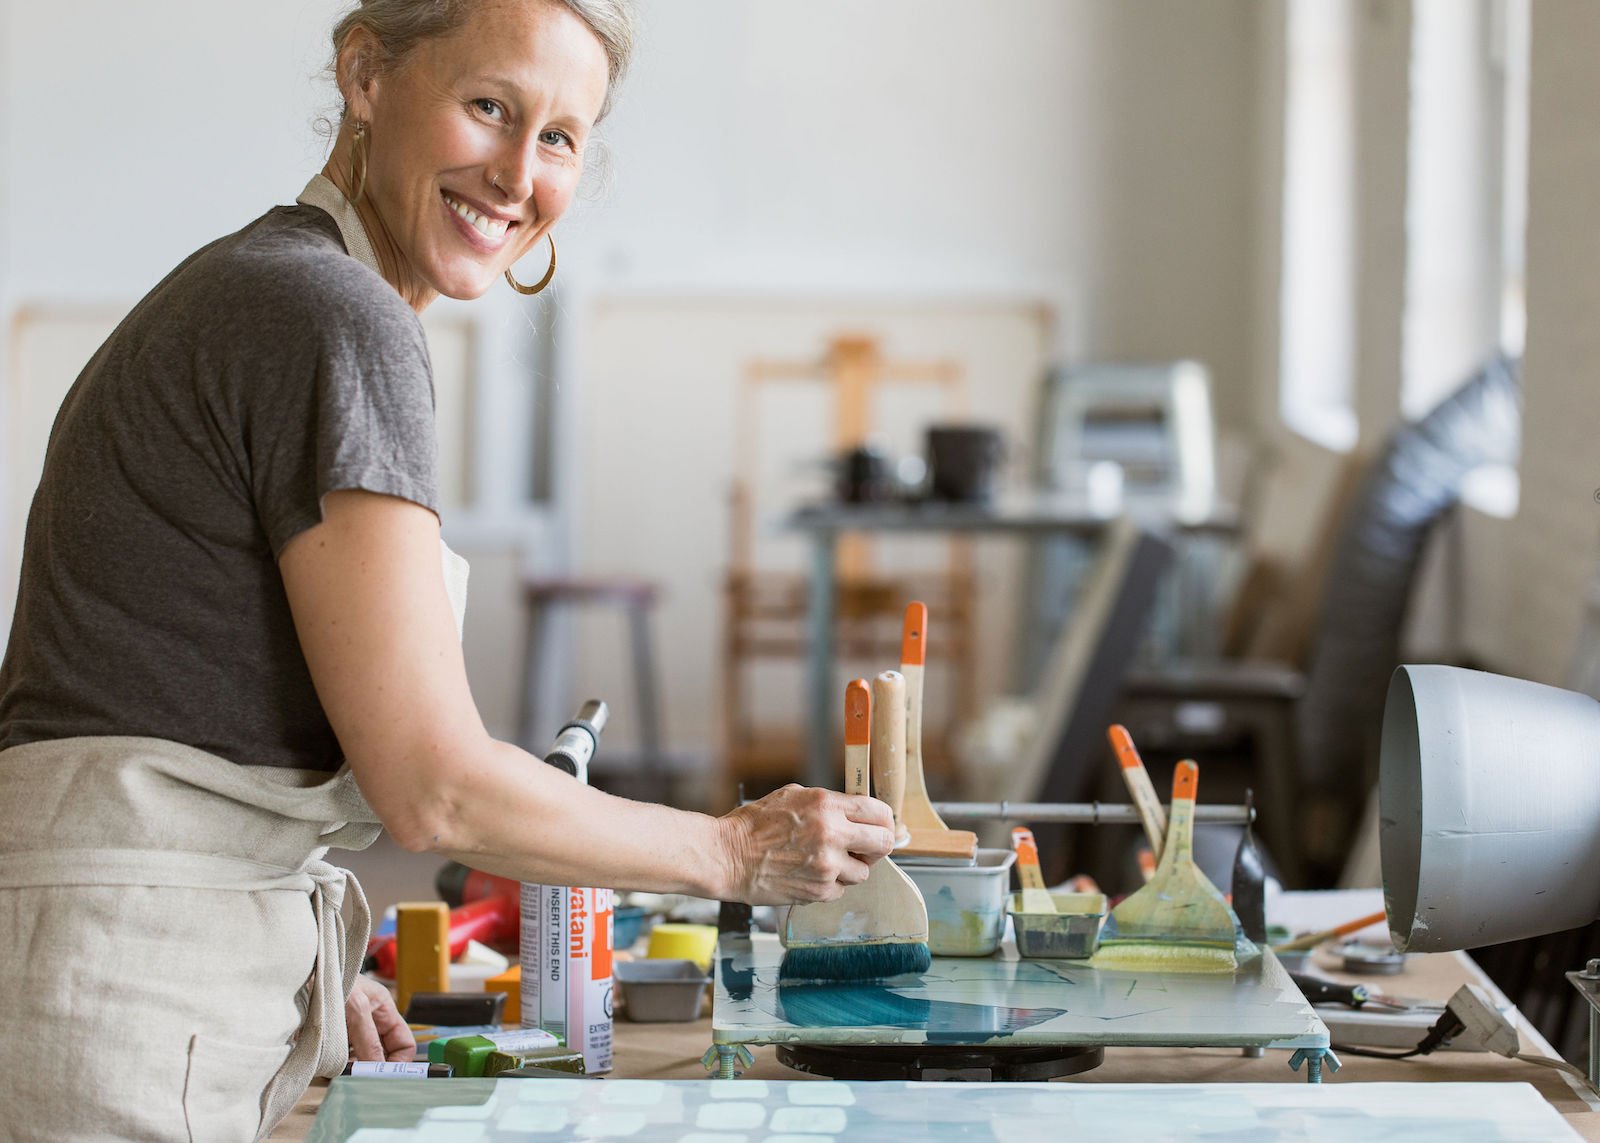
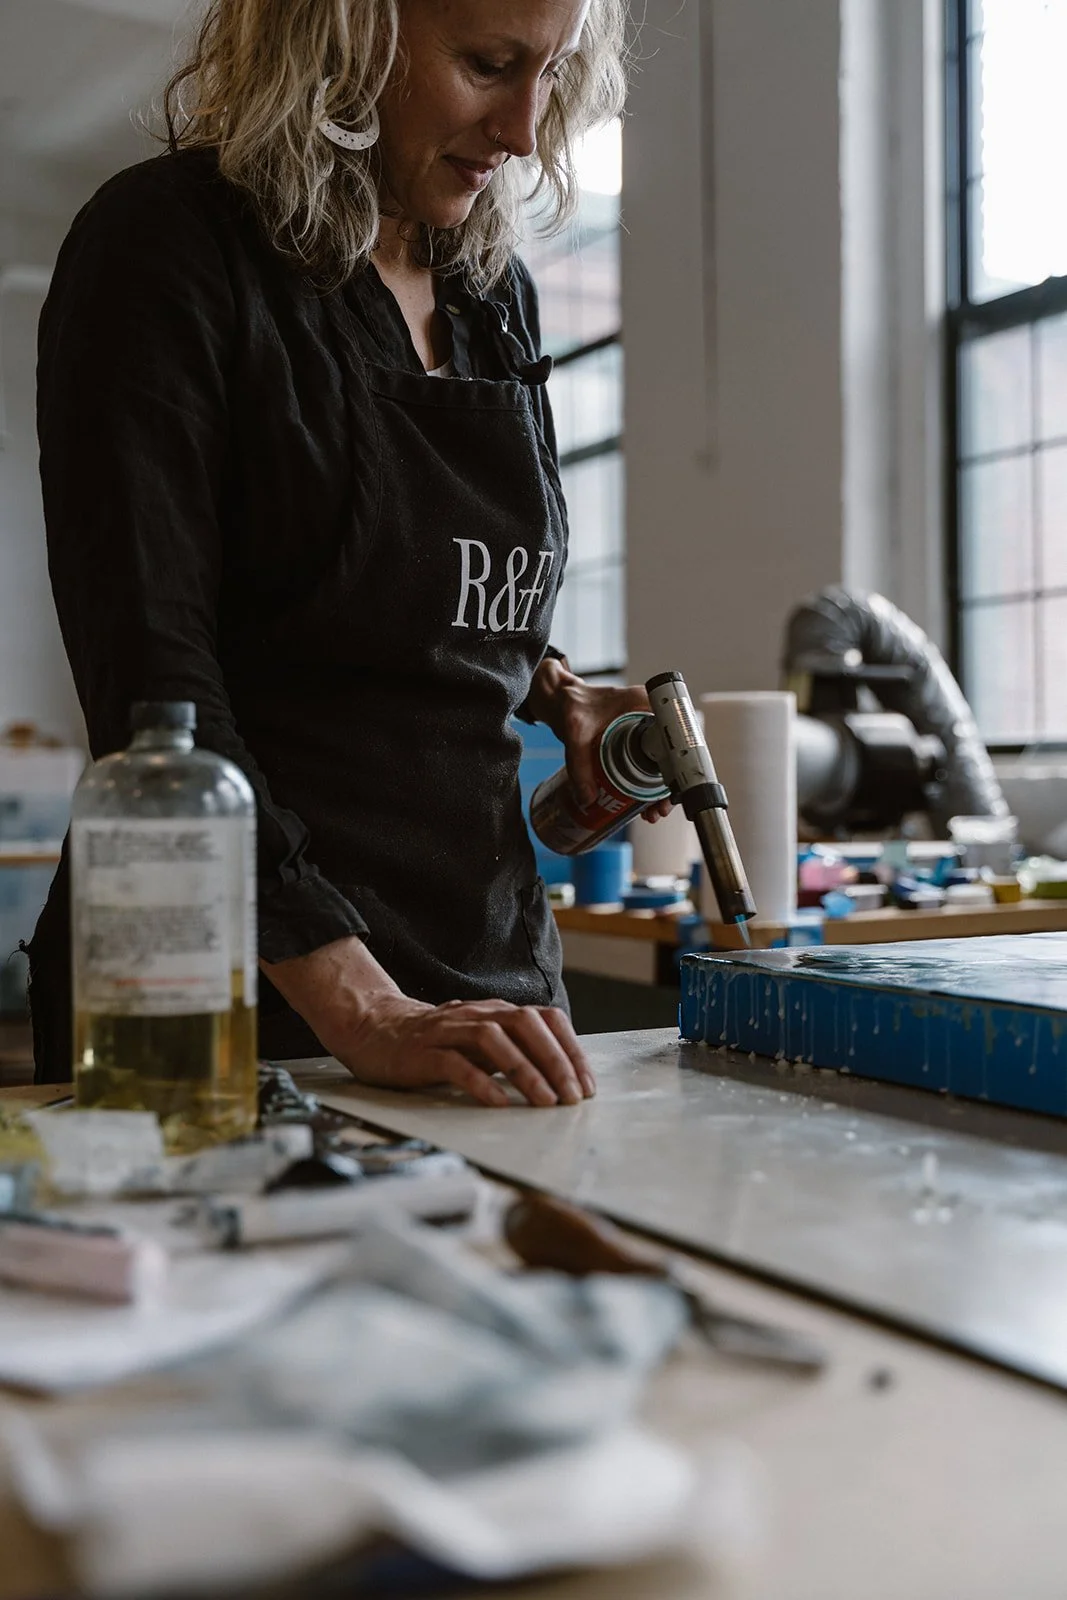
R&F Core Artist Instructor and employee Dietlind Vander Schaaf in her Westbrook, Maine studio.
Our Artist Insights series is aimed at sharing tips, advice, techniques, and practical information from seasoned professionals who work with our paint lines. These columns read like the sort of helpful guidance you’d get from a workshop or class without you having to leave the comfort of your home.
In this post, artist and R&F employee Dietlind Vander Schaaf takes us inside her studio to show us how she creates smooth, even surfaces working with encaustic medium and paint. She covers how to hold your brush, building thin layers, highlights mistakes to avoid, offers tips, and shares a practical exercise to strengthen your application and fusing skills.
Enjoy. Keep painting.
Time and time again I’ve watched students in my encaustic workshops struggle with application and fusing. Frequently they end up melting finer details they are trying to preserve through over fusing. Or, just as often, they unintentionally create texture by forgetting to warm their surface, overlapping layers, or under fusing.
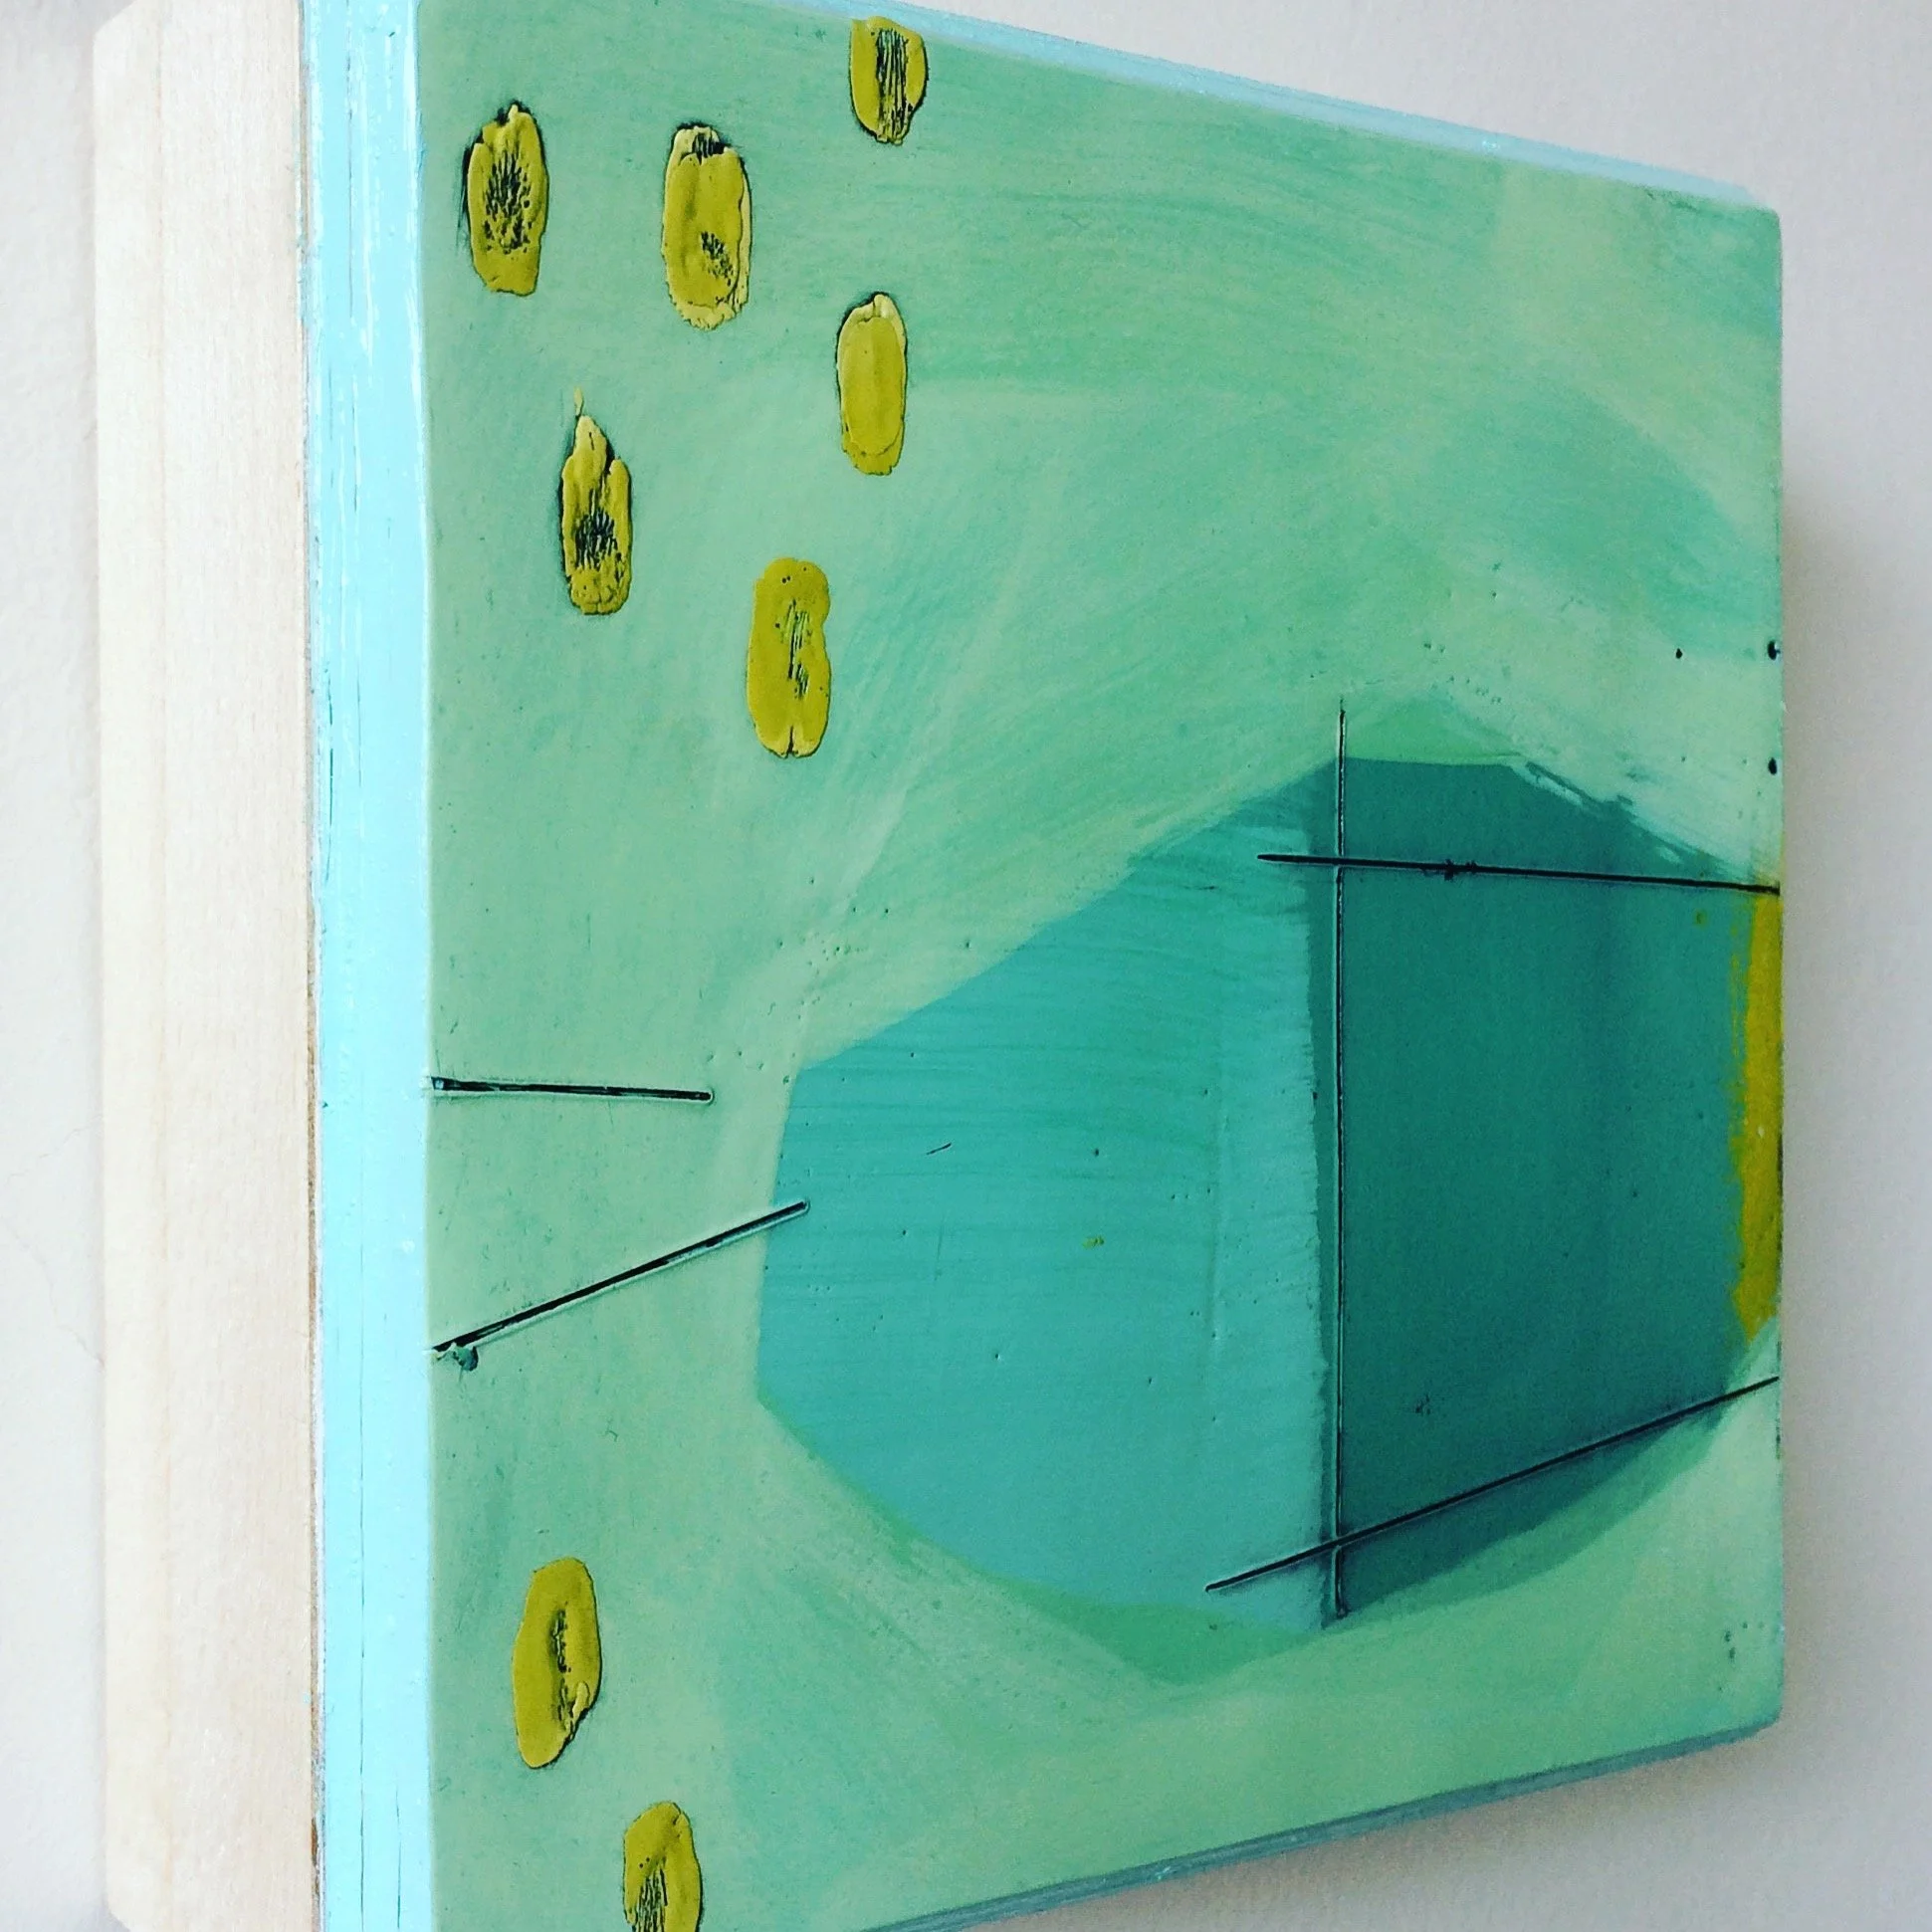
Even if you love texture - and for many of us that was what first drew us to this medium - learning how to create a smooth, level surface is foundational to many techniques. And it’s not as hard as it might appear.
The key things to keep in mind involve ensuring your wax is the correct temperature (between 180 and 200 degrees Fahrenheit), that your panel is properly heated, holding your brush at an angle, rotating your panel, and working in thin layers. Developing strong fusing skills is also helpful.
It takes practice and time to get better. I once had a student who came to one of my four day workshops. She told me right away that she wasn’t particularly interested in the techniques I was teaching. She only wanted to learn how to achieve a smoother surface and she said I was the queen of smooth surfaces.
She then proceeded to spend all four days applying and fusing encaustic medium, using the tips I share below. Gradually she increased the size of the panels she was working on until she could create a level, ridge-free surface on an 18” x 18” panel.
Below is a list of steps that will help improve your ability to create a smooth, even surface. I’ve included tips to help you manage application and discussed what can go wrong. Feel free to reach out to me if you have questions. You can find me at dietlind@rfpaints.com.
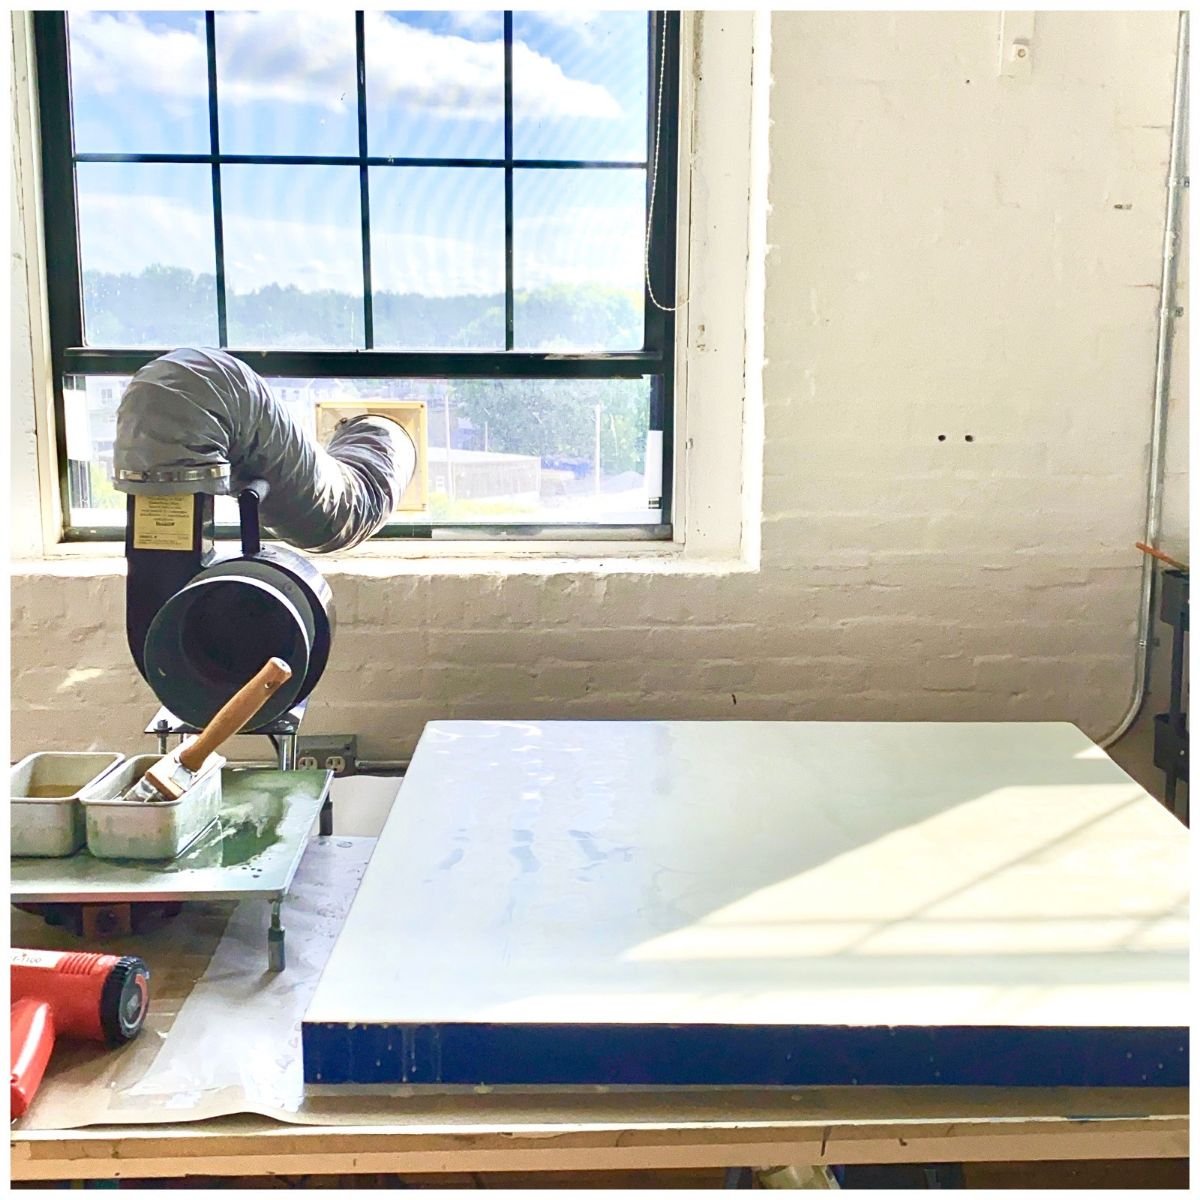
Step One: Warm your panel. This can be done if you are working on a small panel by briefly placing it onto a clean heated palette (face down), or by fusing it with your heat gun. Pay special attention to make sure you've warmed the entire surface, including the edges. Test how warm it is by placing your palm on the panel.
Working on an airtight support such as Ampersand Encausticbord decreases bubbles from forming, as the high density of the board and even coating of encaustic gesso prevents air from rising up through your support.
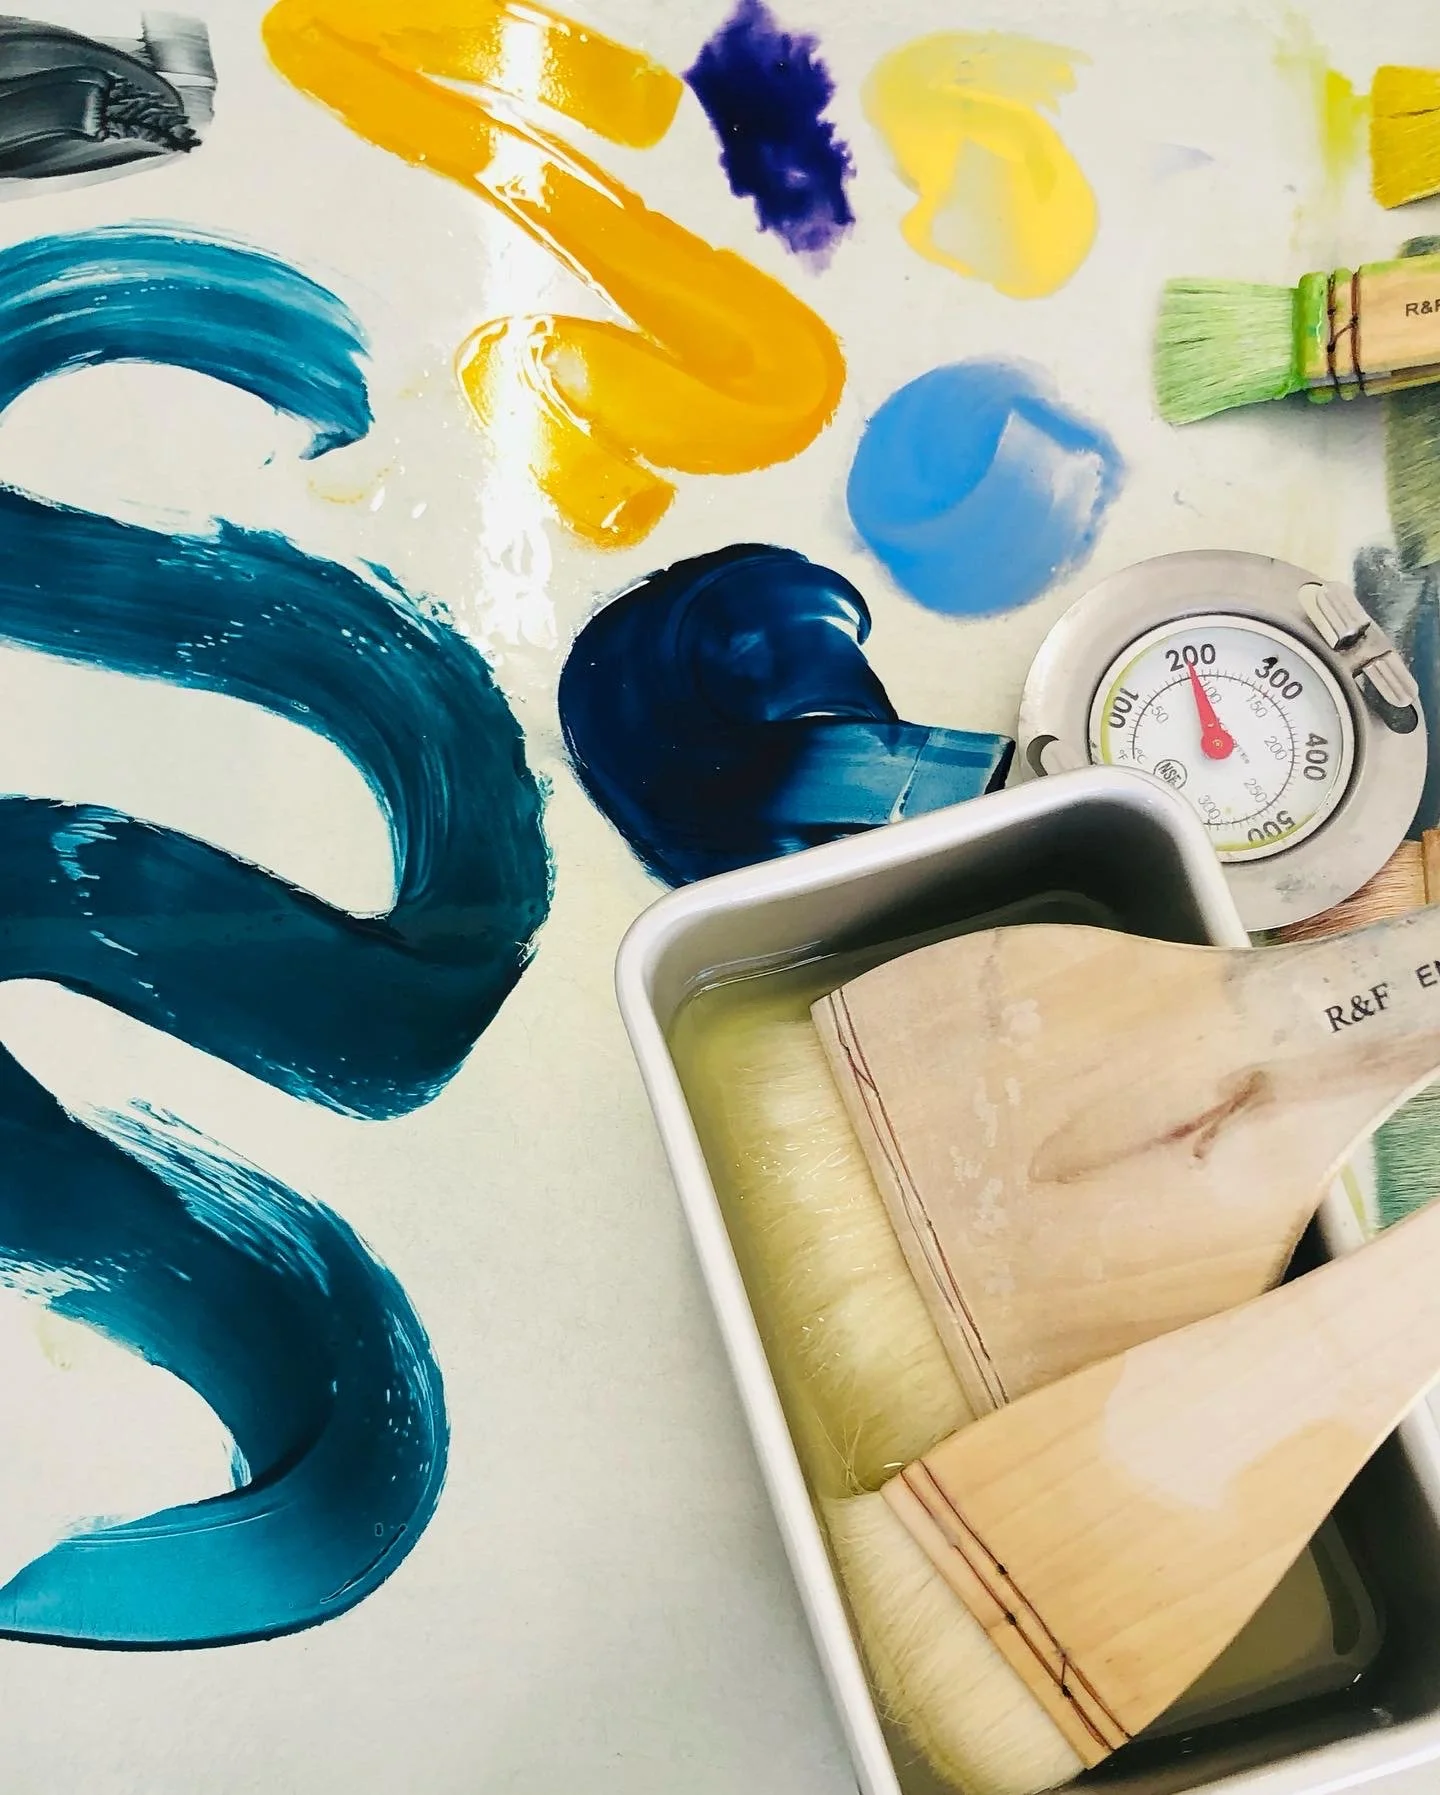
Step Two: As you apply encaustic medium or paint try not to overlap your brushstrokes as this will create ridges. Hold your brush at an angle so that it is close to horizontal with the surface of your panel. This will enable a more even distribution of encaustic.
Try not to depress the brush as you glide across the surface. Even a small amount of pressure will cause the wax to move out to the sides of your brush and create a thinner layer with ridges.
If you find you are running out of wax before you reach the end of your panel, you might need to load your brush more or work with a larger brush. My preferred brush for building layers is a 4 inch R&F hake brush. The soft goat hairs and wide bristles enable me to cover large amounts of surface more quickly and easily.
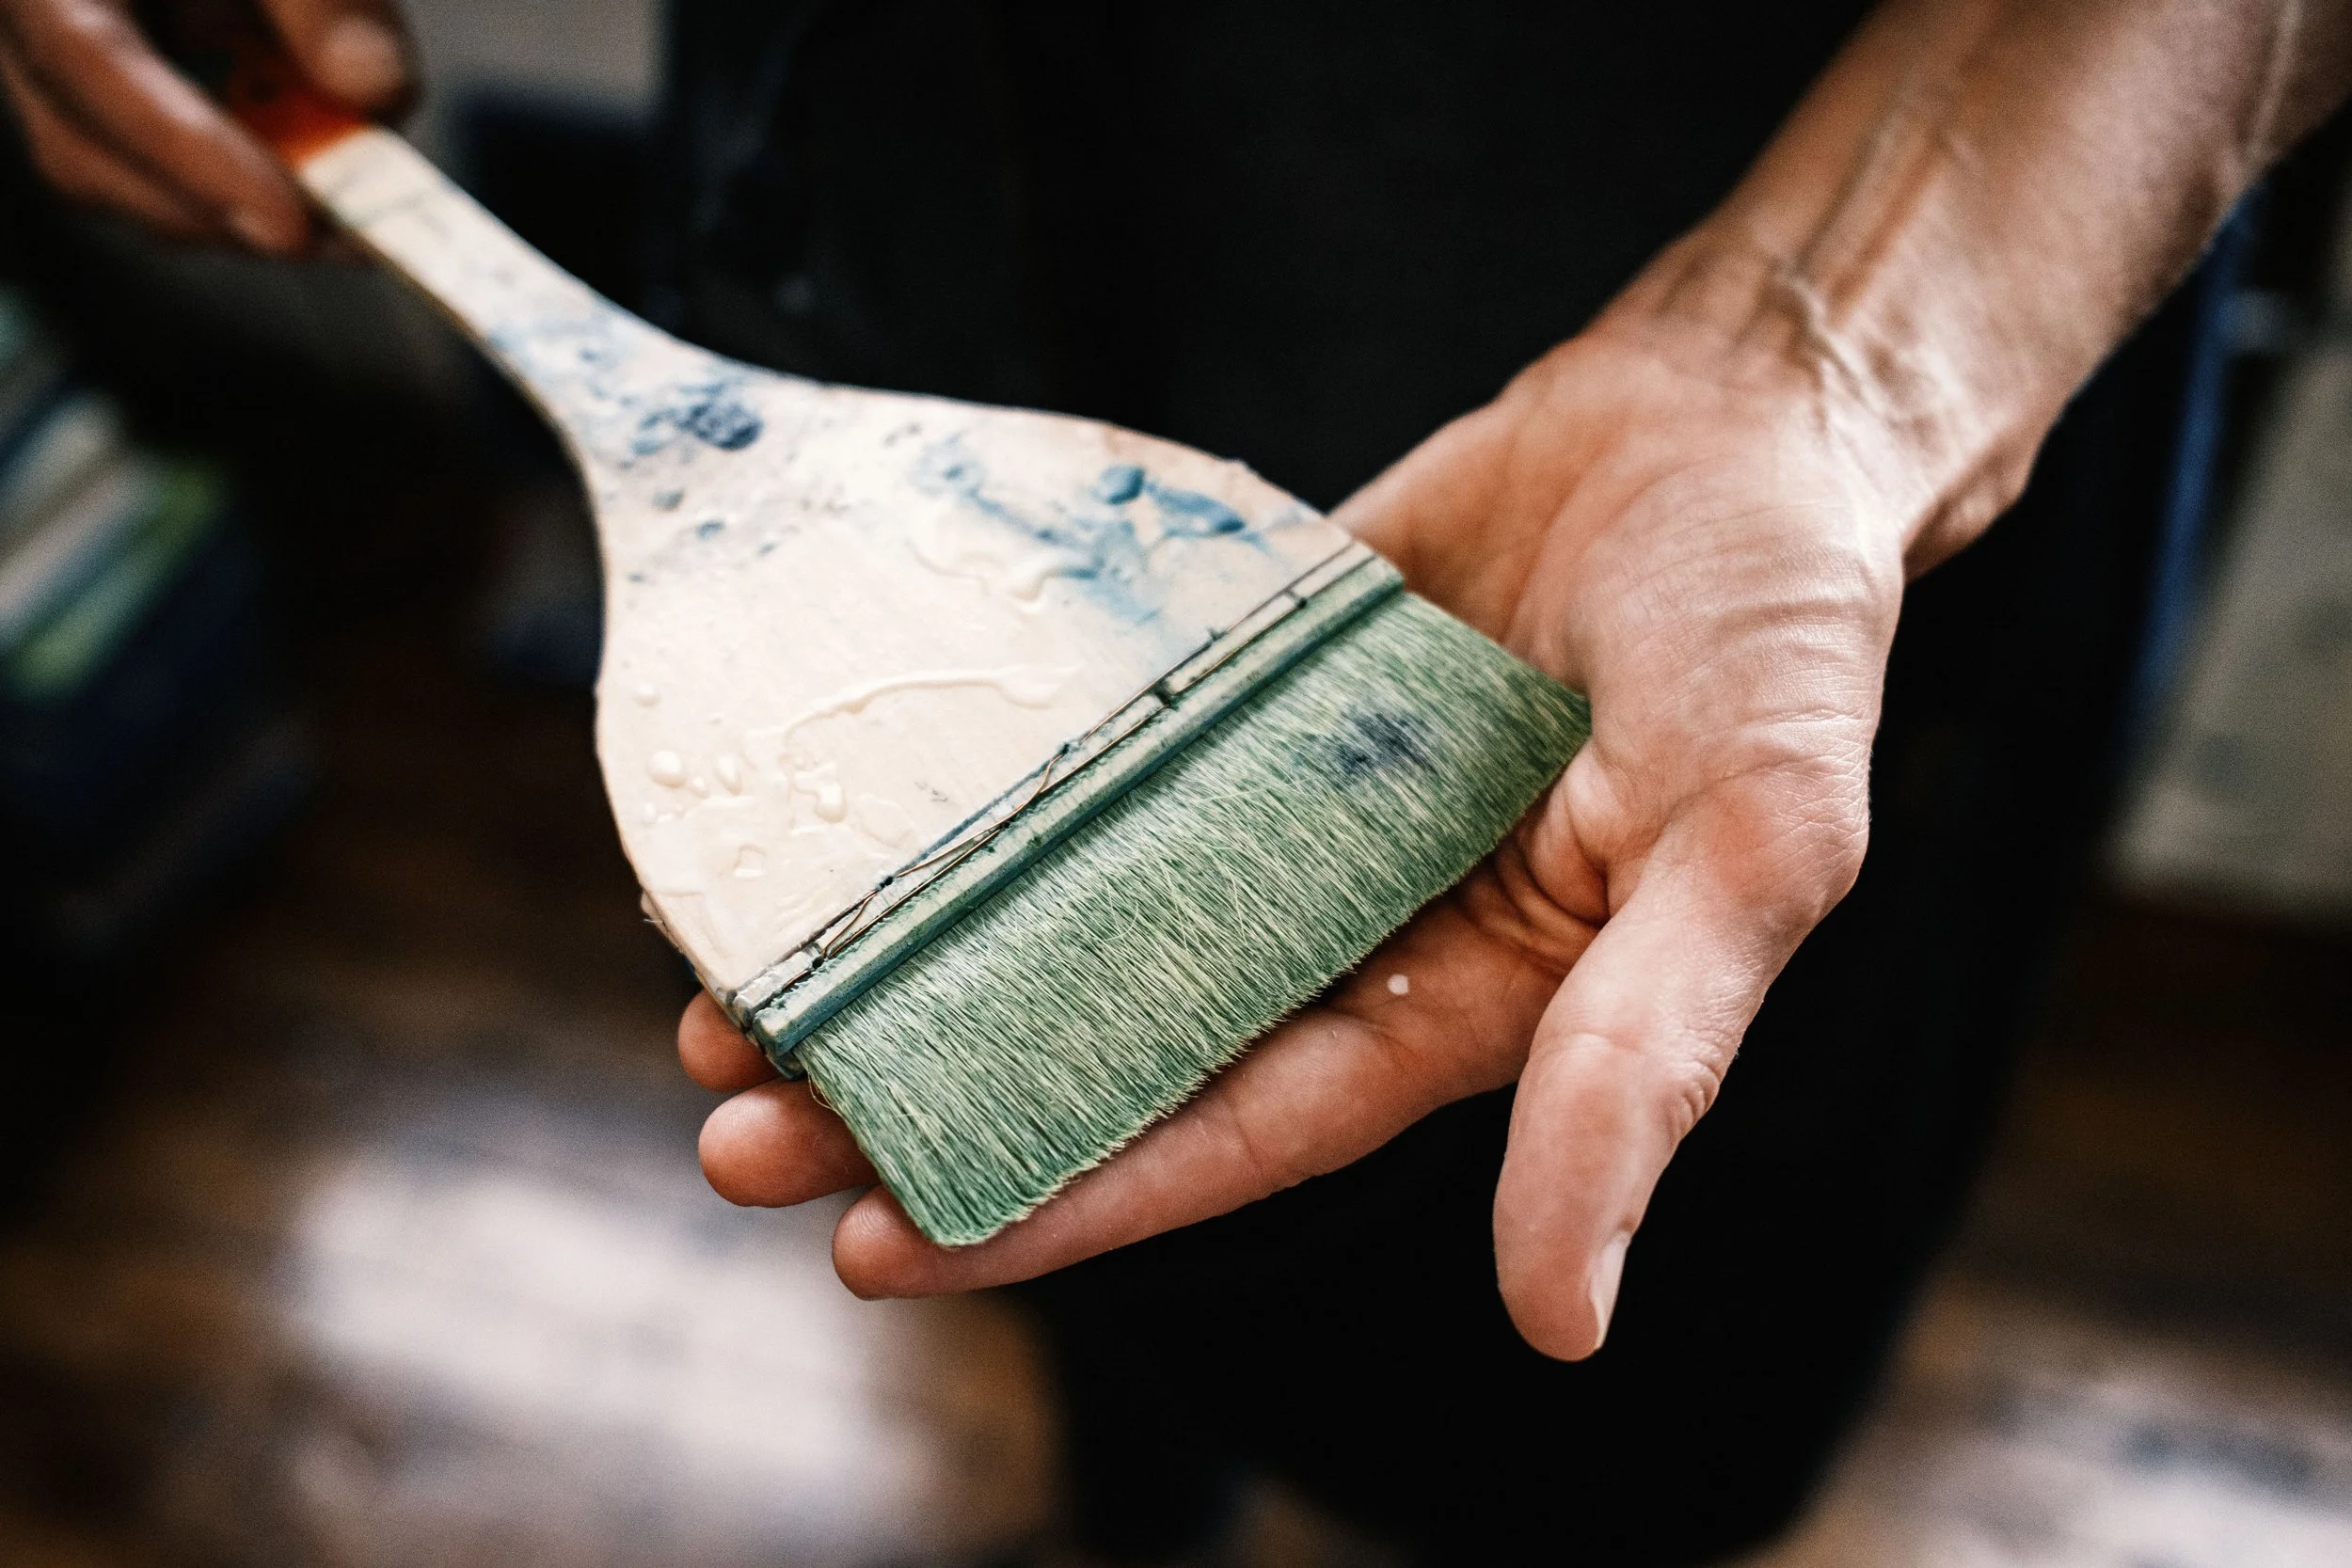
Tip: I keep my encaustic medium brush sitting in a 4” x 6” aluminum palette cup of encaustic medium. When I lift the brush I make sure to tilt it so any medium that has gotten up into the shank out so it doesn’t drip as I travel. I lightly brush one side off on the inside of the palette cup so the brush stays fully loaded with encaustic medium before applying it on my substrate.
Notice if you have a tendency to slightly depress your brush when you reach the end of your panel. If the brush presses down against the edge of the panel, it will act as a squeegee, wringing the last bits of encaustic medium from your brush and creating a ridge or lump at the edge of your panel.
If this happens, you can lightly subtract it with a pear-shaped loop tool, razor blade, or whatever scraping tool you prefer. Alternatively, you can melt it back down by fusing it.
Step Three: After you've brushed on a layer, fuse lightly until surface goes from matte to shiny. If there are still bubbles, continue fusing lightly. Try to keep your heat gun or torch at the same distance from your panel as you move across it.
Avoid staying in one spot for too long as it will overheat. The surface of your panel will absorb as much wax as it can and then it will become slightly resistant to the wax and push it away in a ring-like formation. Should this happen, allow your panel to cool down and then go back and fuse lightly back and forth until the wax melts and settles evenly across the surface of your panel.
Another thing to avoid is shaking your heat gun while you fuse. This is not efficient fusing and is likely a holdover from blowing drying your hair. Rather than shaking it, hold the nozzle so that it is facing the surface and move back and forth from one side to the other or in small circles.
A couple of tips here. Continuing to heat in one spot can make bubbles worse as you may be heating all the way back down to the substrate and pulling air up through it.
My trick for dealing with wood panels that produce a lot of bubbles is to build up five to ten layers of encaustic medium (fusing between each layer) and then allow the panel to cool completely. Once the painting has cooled and hardened, I fuse just the top layer or two. This closes the bubbles and you aren't continuing to pull air back up from the substrate.
Another thing to consider is that bubbles can sometimes form because of air trapped in the wax and lightly fusing from an angle - for example, the side rather than straight down - can help.
Once you have an understanding of how to remove air bubbles, you may consider that a few bubbles here or there aren't not a big deal. They can add interest when filled in with Pigment Stick® as a final surface coat.

Step Four: Be sure to rotate your panel so you aren’t starting from the same side each time. No matter how carefully you work, if you start from the same side you will create a thicker application of encaustic on that side and a thinner application on the opposite side.
I developed my “Ten Even Layers” exercise as a practice to strengthen application and fusing skills and it has served hundreds of students over the years. Many of those students have gone on to teach and use this exercise in their own workshops.
The exercise is simple. Work to build ten smooth, even layers of encaustic medium on a panel using the steps listed above. Rotate the panel each time so you start from all four sides. Try to get your layers as thin as possible.
If you are working on a larger panel and cannot get a brush stroke of encaustic medium to travel from one side to the other, it may be that you didn’t heat the panel sufficiently. It may also be that your brush cannot hold enough medium to travel that far.
If I am working on a 24” x 24” panel, for example, I work in 12” x 12” sections at least for the first several layers of medium. After I’ve got encaustic medium on the entire surface, I can eventually get a longer stroke. The wax will hold heat longer than the wood surface, which cools fairly quickly.
The trick to creating smooth, even layers is to keep your surface nice and warm, your brush fully loaded, and to develop skill and confidence with your application and fusing so that you don’t move too slowly or too quickly. That only comes with time and practice.
I think of this process as a moving meditation. The practice helps to center me and move me into the proper mindset to paint. You definitely don’t need to start all of your paintings with ten even layers, but it’s also not a bad idea.

Upcoming Workshops with Dietlind Vander Schaaf
6/22 - 6/27/26 Encaustic Alchemy: Shrines + Totems at Kelly Milukas Studio, Tiverton, RI
8/9 - 8/13/26 Advanced Teaching: Encaustic for Educators at McTavish Academy of Art, North Saanich, British Columbia
8/15 - 8/16/26 Encaustic: Layers + Translucency at McTavish Academy of Art, North Saanich, British Columbia
9/13 – 9/20/26 Maine Coast Encaustic Residency at The Colony Hotel, Kennebunkport, ME
9/20 – 9/26/26 Maine Coast Encaustic Retreat at The Colony Hotel, Kennebunkport, ME
10/7 - 10/8/26 Encaustic: Layers + Translucency at Woodstock School of Art, Woodstock, NY
11/1 - 11/5/26 Advanced Teaching: Encaustic for Educators at Woodstock School of Art, Woodstock, NY
1/20 - 1/24/27 Encaustic: Color Intensive at Kelly Milukas Studio, Tiverton, RI
2/17 - 2/27/27 Art On The Nile in Cairo, Luxor, and Aswan, Egypt with Essence of Mulranny Studios
5/2 - 5/8/27 Libro d’Arte: An Immersive Italian Mixed Media Retreat co-taught with Kelly Milukas,Porciano Castle, Tuscany, Italian
6/13 - 20 Encaustic: Layers + Translucency at BeArtz, Sauveterre de Béarn, France
7/13 – 7/16/27 The Art of Presence: Encaustic Painting + Meditative Drawing at Wild Rice Retreats, Bayfield, WI
8/6 - 8/14/27 Creating Your Rhythm: Painting, Knitting + The Natural World at Essence of Mulranny Studios, Mulranny, Ireland