
Make A Mark - Move The Paint with Kelly Williams
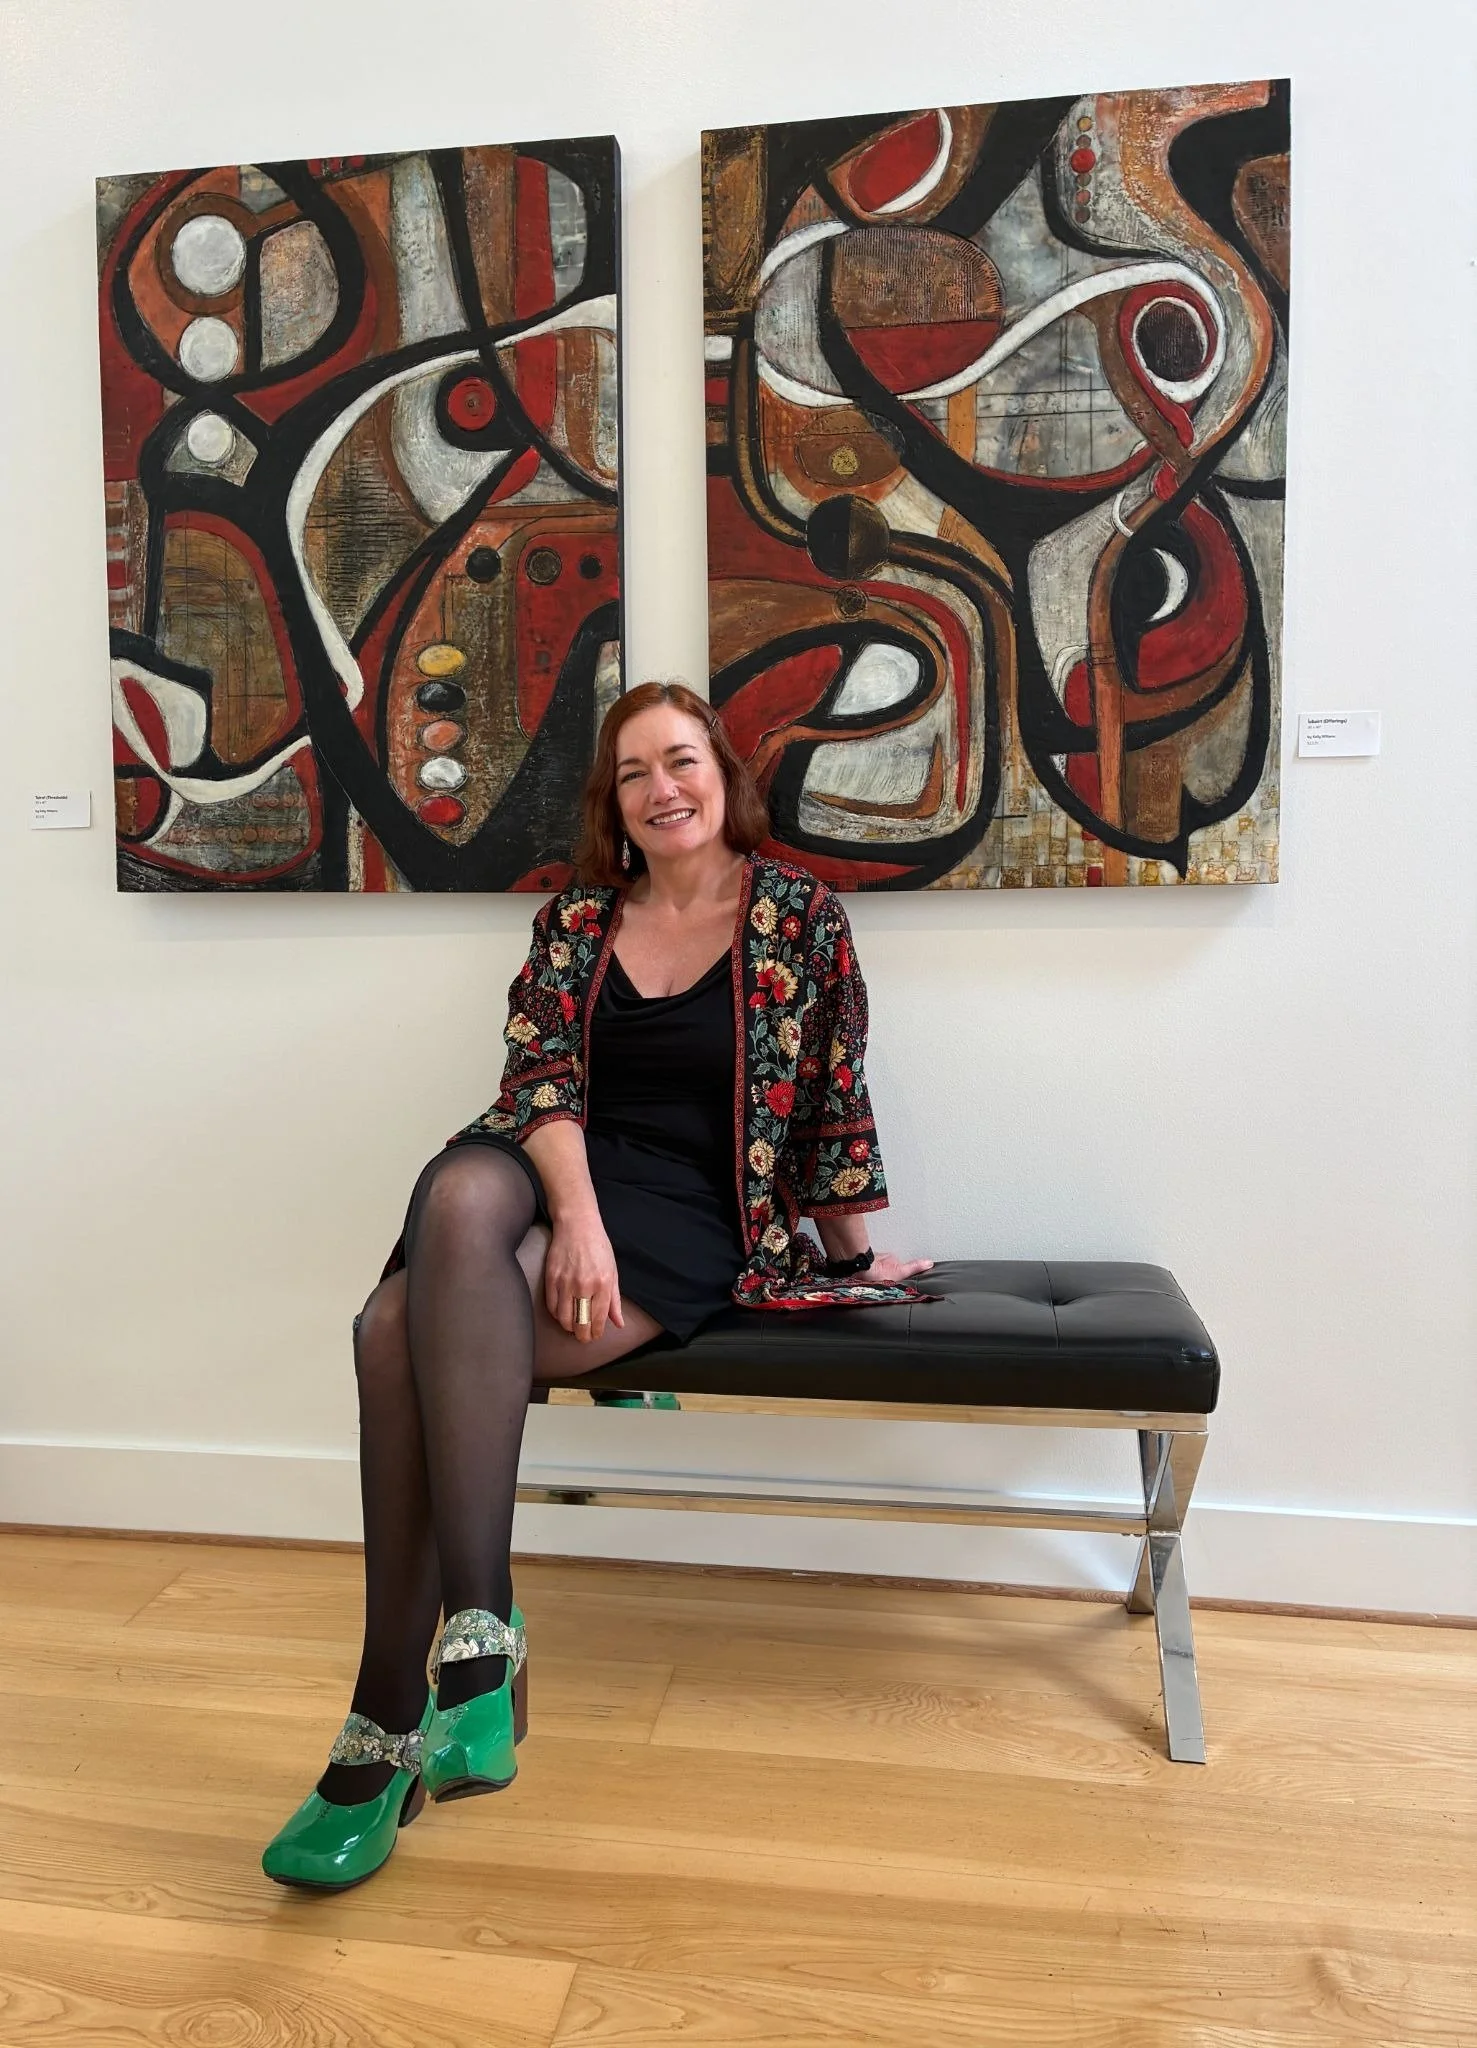
Our Artist Spotlight series shares tips, advice, techniques, and practical information from seasoned professionals who work with our paint lines. These columns read like the sort of helpful guidance you’d get from a workshop or class without having to leave the comfort of your home.
In this post, R&F Core Artist Instructor Kelly Williams walks you through using an iron to manipulate and fuse encaustic paint. She discusses safety and what to look for when selecting an iron. “The iron is a dynamic and rewarding tool,” Kelly notes. “Mastery comes from focusing on the variables of temperature, movement, and pressure, which turn the process into one of intentional mark-making and controlled fusing.”
You can find additional resources for working with our paints, including demo videos and tutorials on our YouTube Channel. While you’re there, be sure to like and subscribe. Leave us a comment so we know what types of content you’d like to see.
Enjoy. Keep painting.
Ironing is a versatile and often misunderstood technique in encaustic, especially when you're working big. Many students are hesitant to pick up an iron, or they've had a bad experience where a piece went sideways fast and they swore off ironing forever. Encaustic is incredibly seductive, but if you want to elevate your practice, you need a fundamental understanding of the dynamics of the materials and tools you're working with. Ironing is an ideal study in this: the results that look effortless are actually the product of controlled contact and a focused attention to cause and effect.
In my practice, the results come down to three main variables: temperature, movement, and pressure, plus an awareness of the encaustic itself—how thick it is, how hot the underlayers are, and what textures are already present. When you understand how these pieces interact, ironing shifts from "scary wildcard" to one of the most versatile tools in your studio.
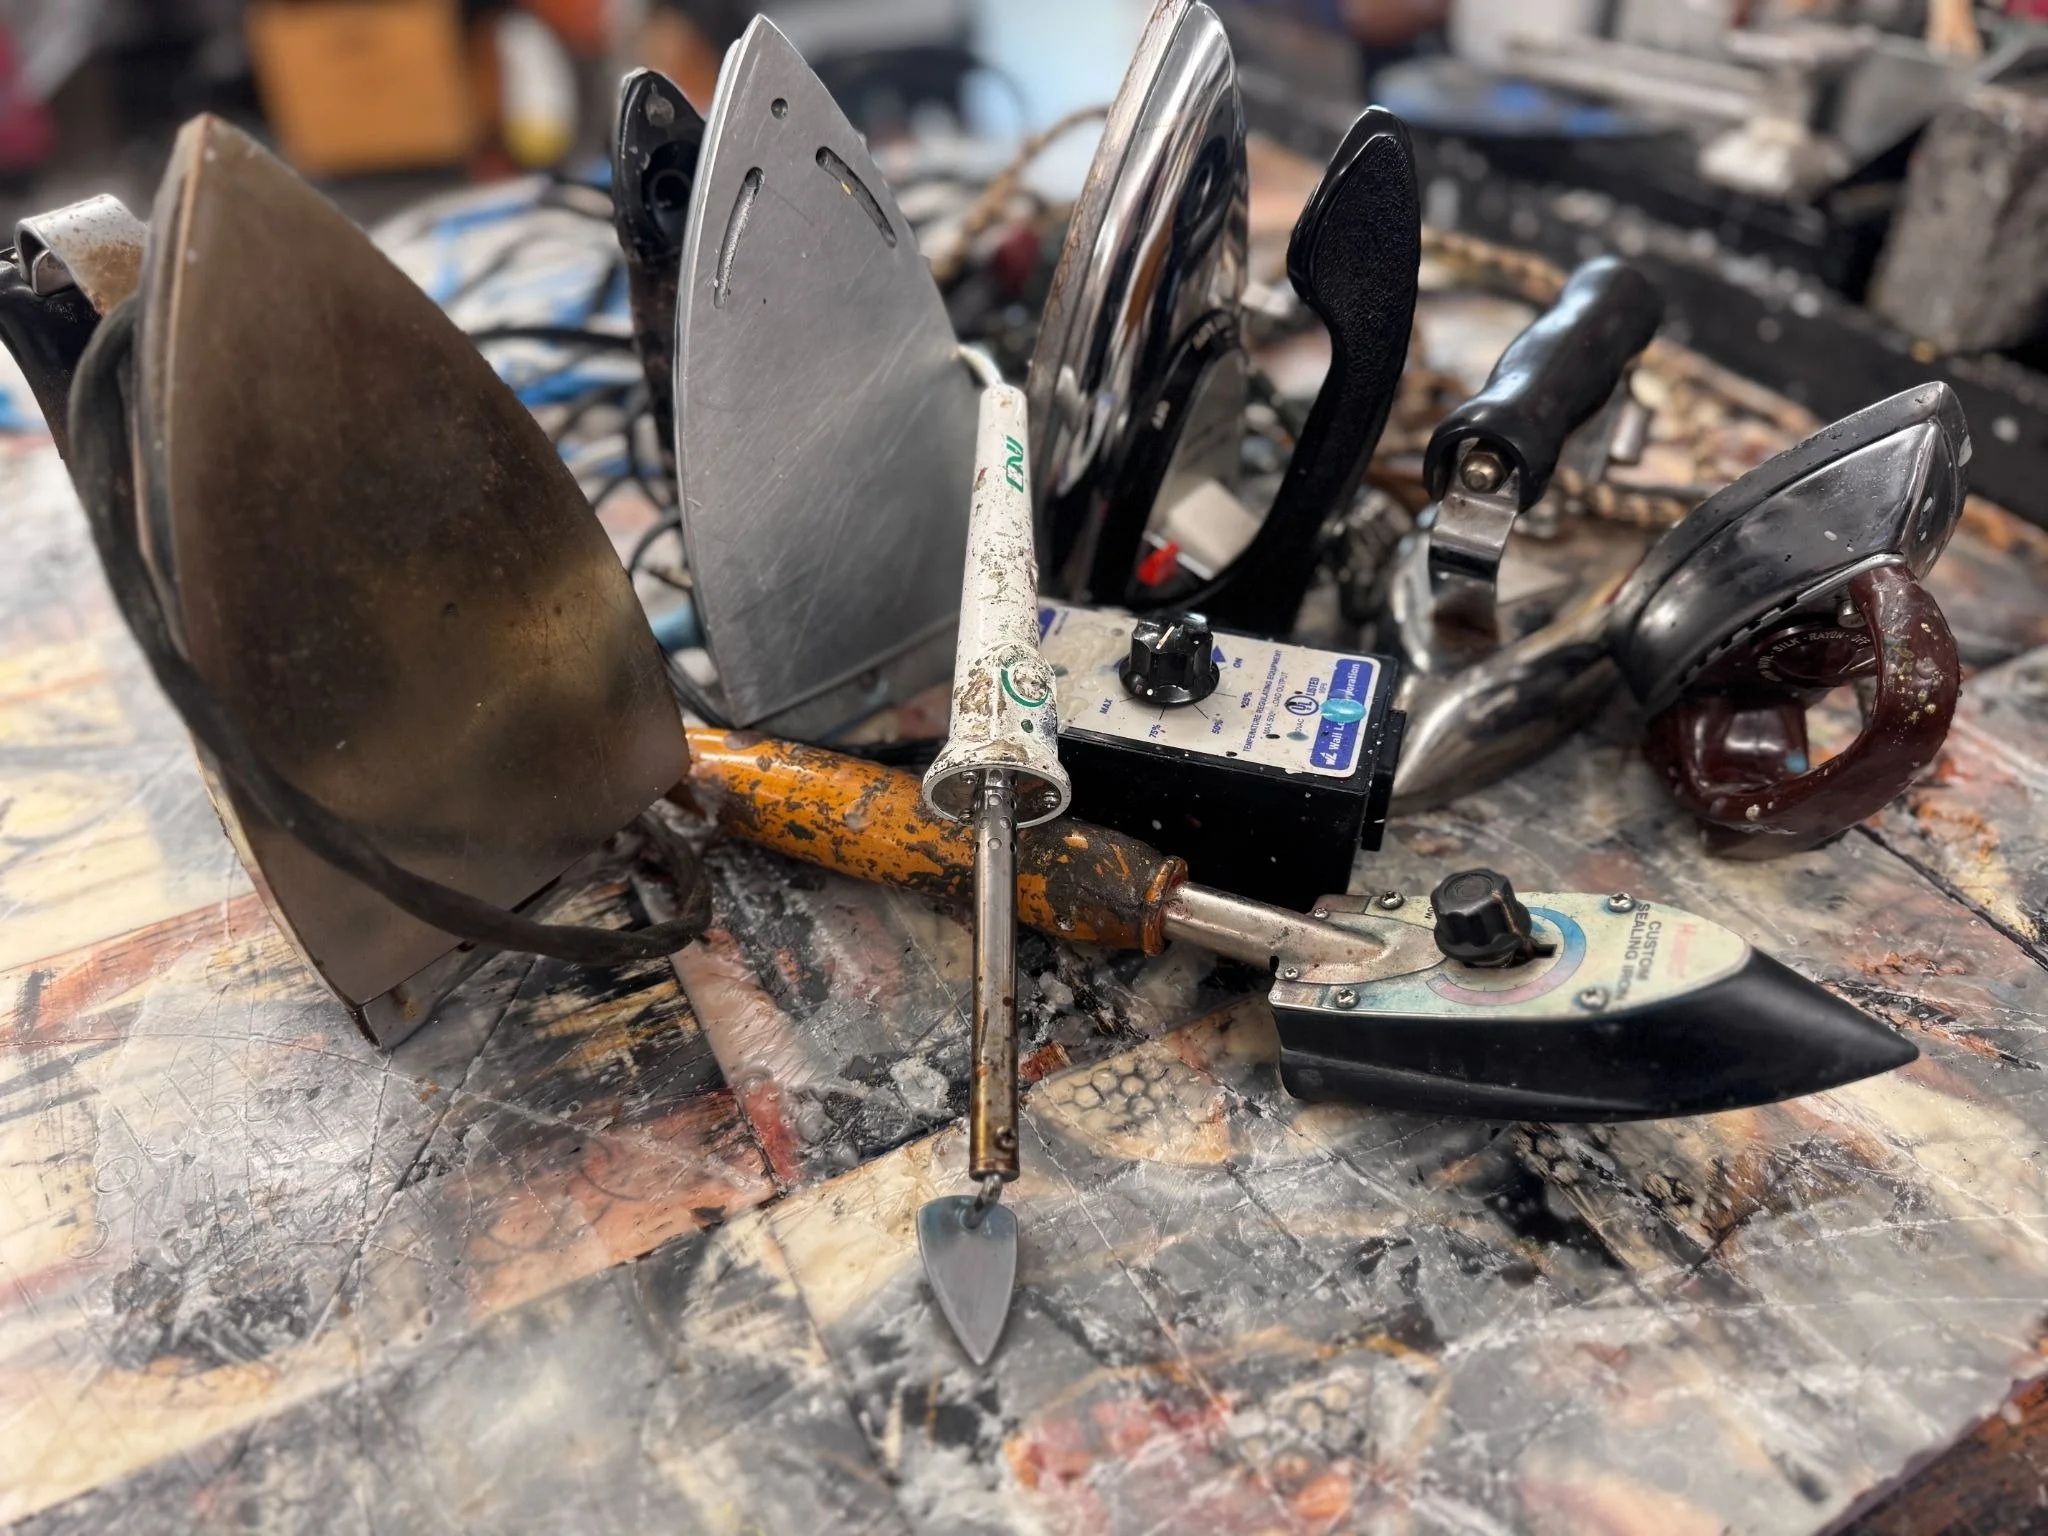
Your Iron Arsenal
There are a wide range of irons out there, and they behave even more differently than a set of brushes. You may have a favorite or a workhorse iron you always grab, but it's smart to have a small "iron arsenal" for different jobs: heavier irons for broad, even fields; smaller, lighter ones for detail and collage; and specialty encaustic irons with removable handles that travel well.
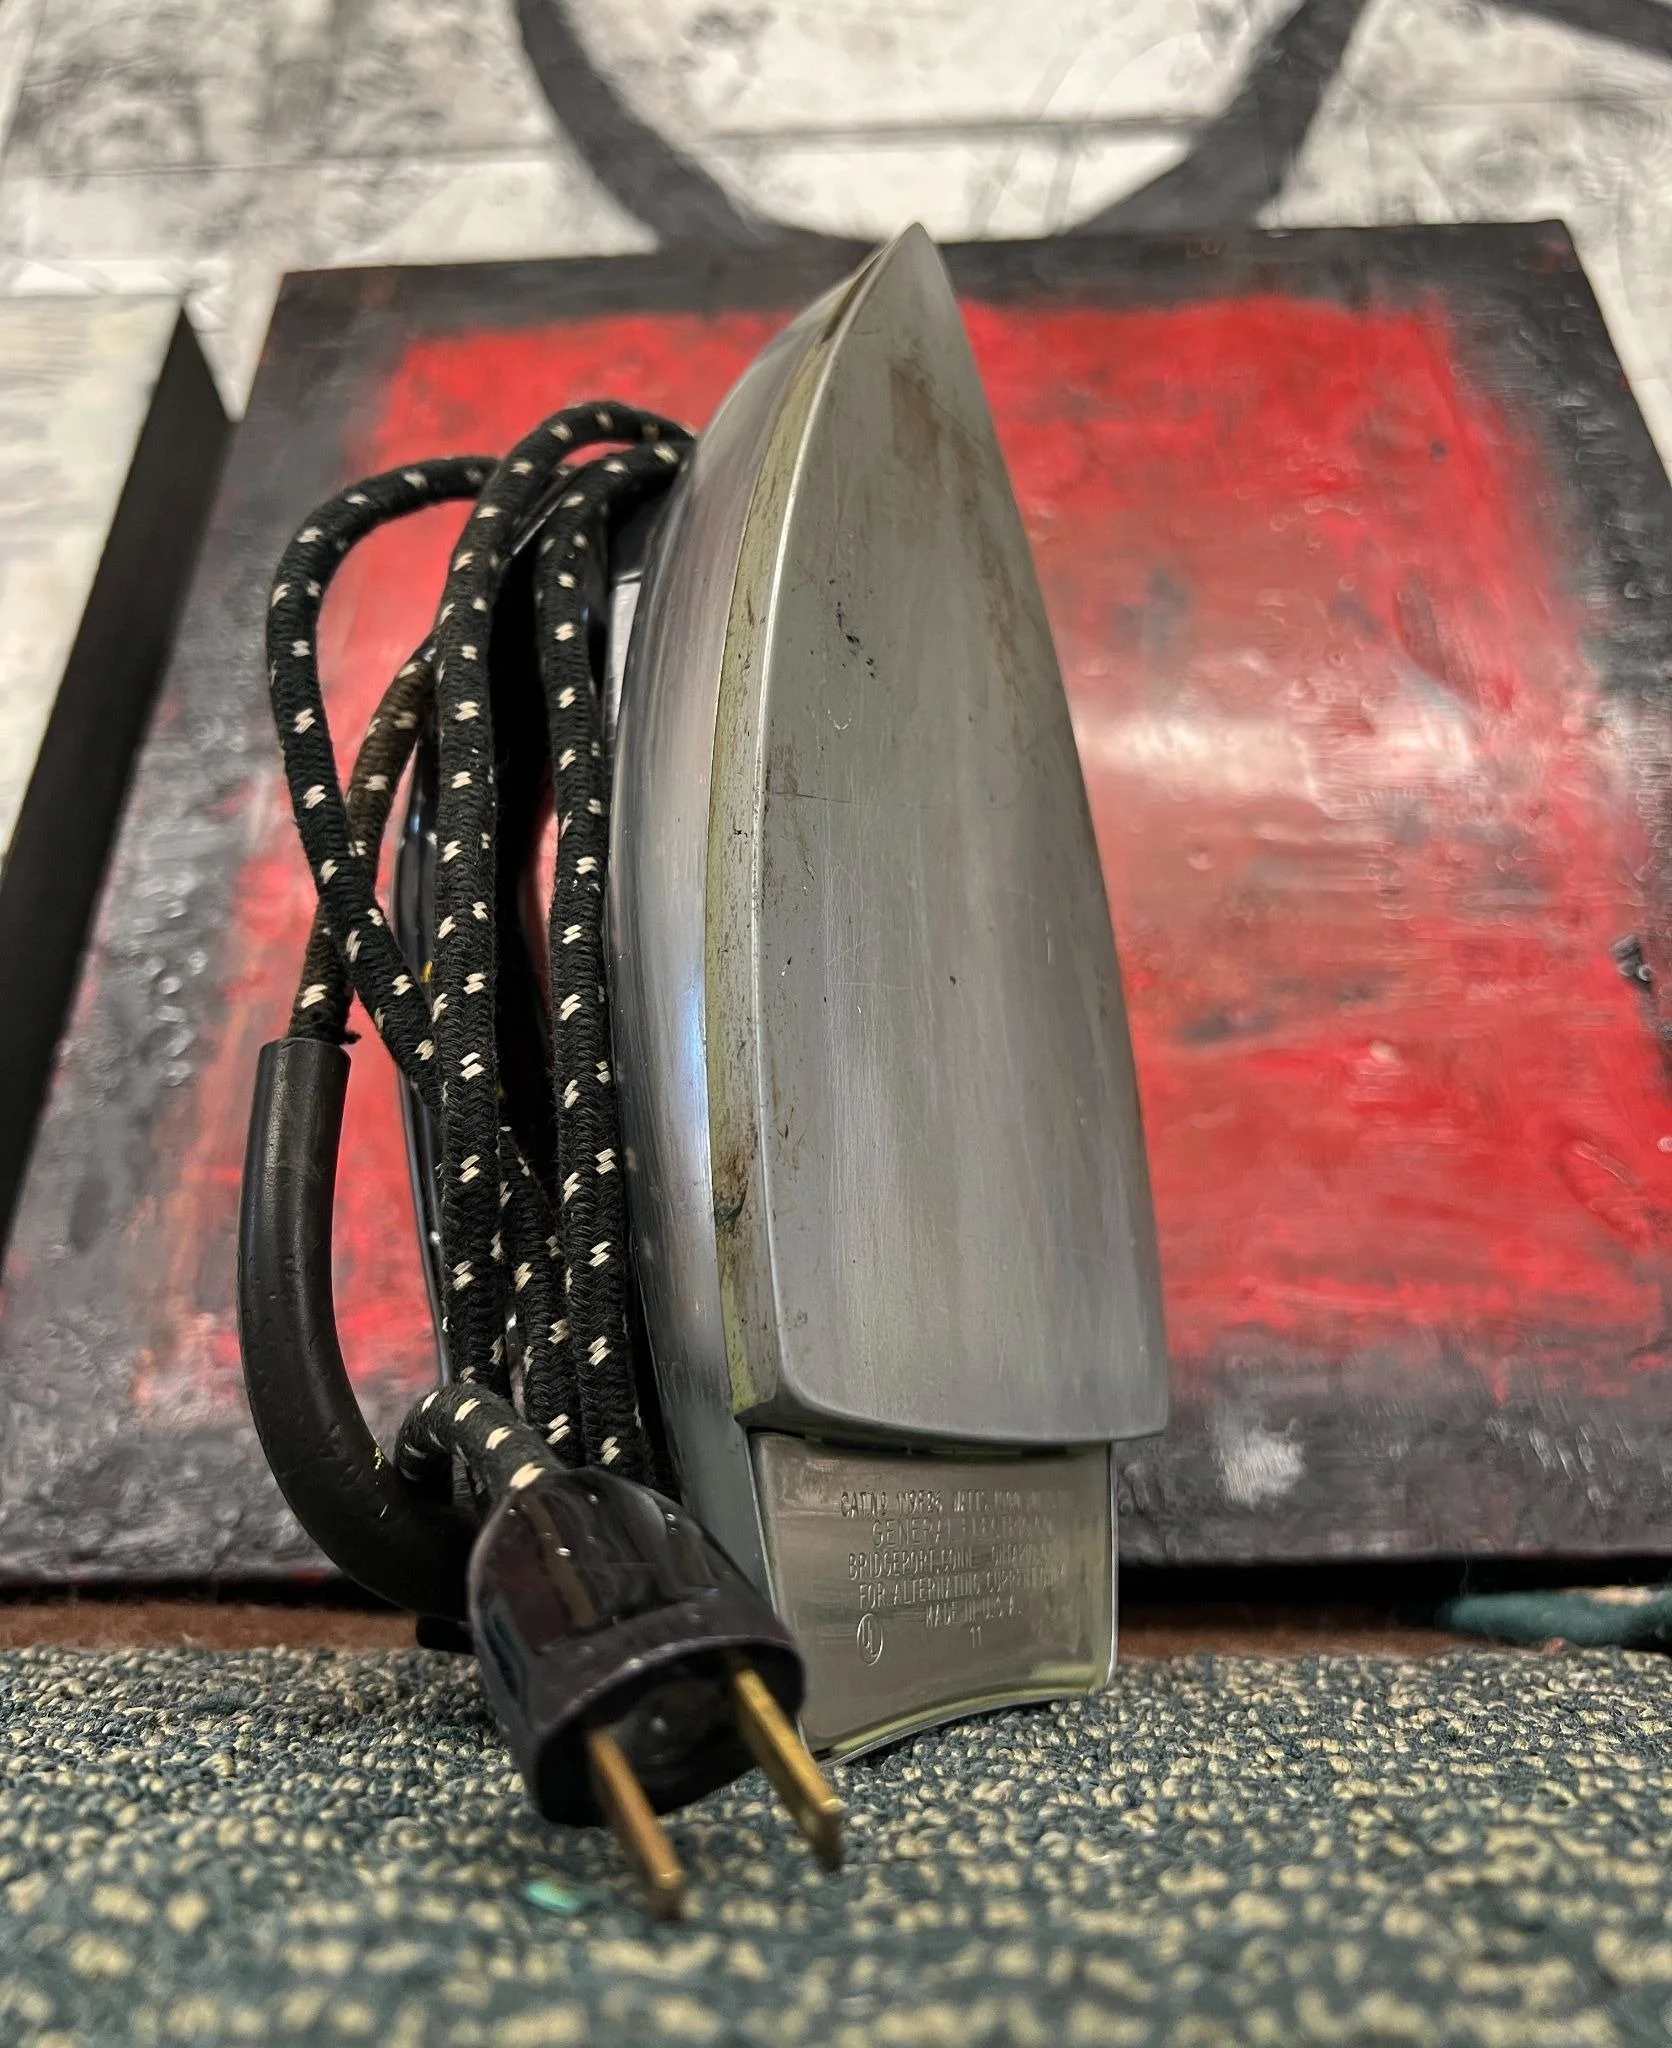
Ideally, I like an iron with no steam holes for encaustic work, because holes collect wax that can overheat, burn, and drag bits of old color into each new pass. My own go-to choices, especially for working large, are older travel irons from Germany and vintage GE models from the F-series, affectionately nicknamed the "Little Hottie," which were popular in the 1950s and 60s. These often show up on the secondary market with satisfyingly long cords.
Set a Safe Temperature
The first variable to understand is temperature. Most irons are set by fabric, not degrees, and every iron runs a little differently, so instead of trusting the dial, assume it's approximate. For encaustic, always aim for an ideal working zone where the wax can soften and move but still stays stable: roughly between 180 and 200 degrees Fahrenheit, and never above 220. That "never over 220" guideline applies everywhere—on the palette, on the surface, and on the iron itself—both for safety and to keep the wax from scorching or breaking down.
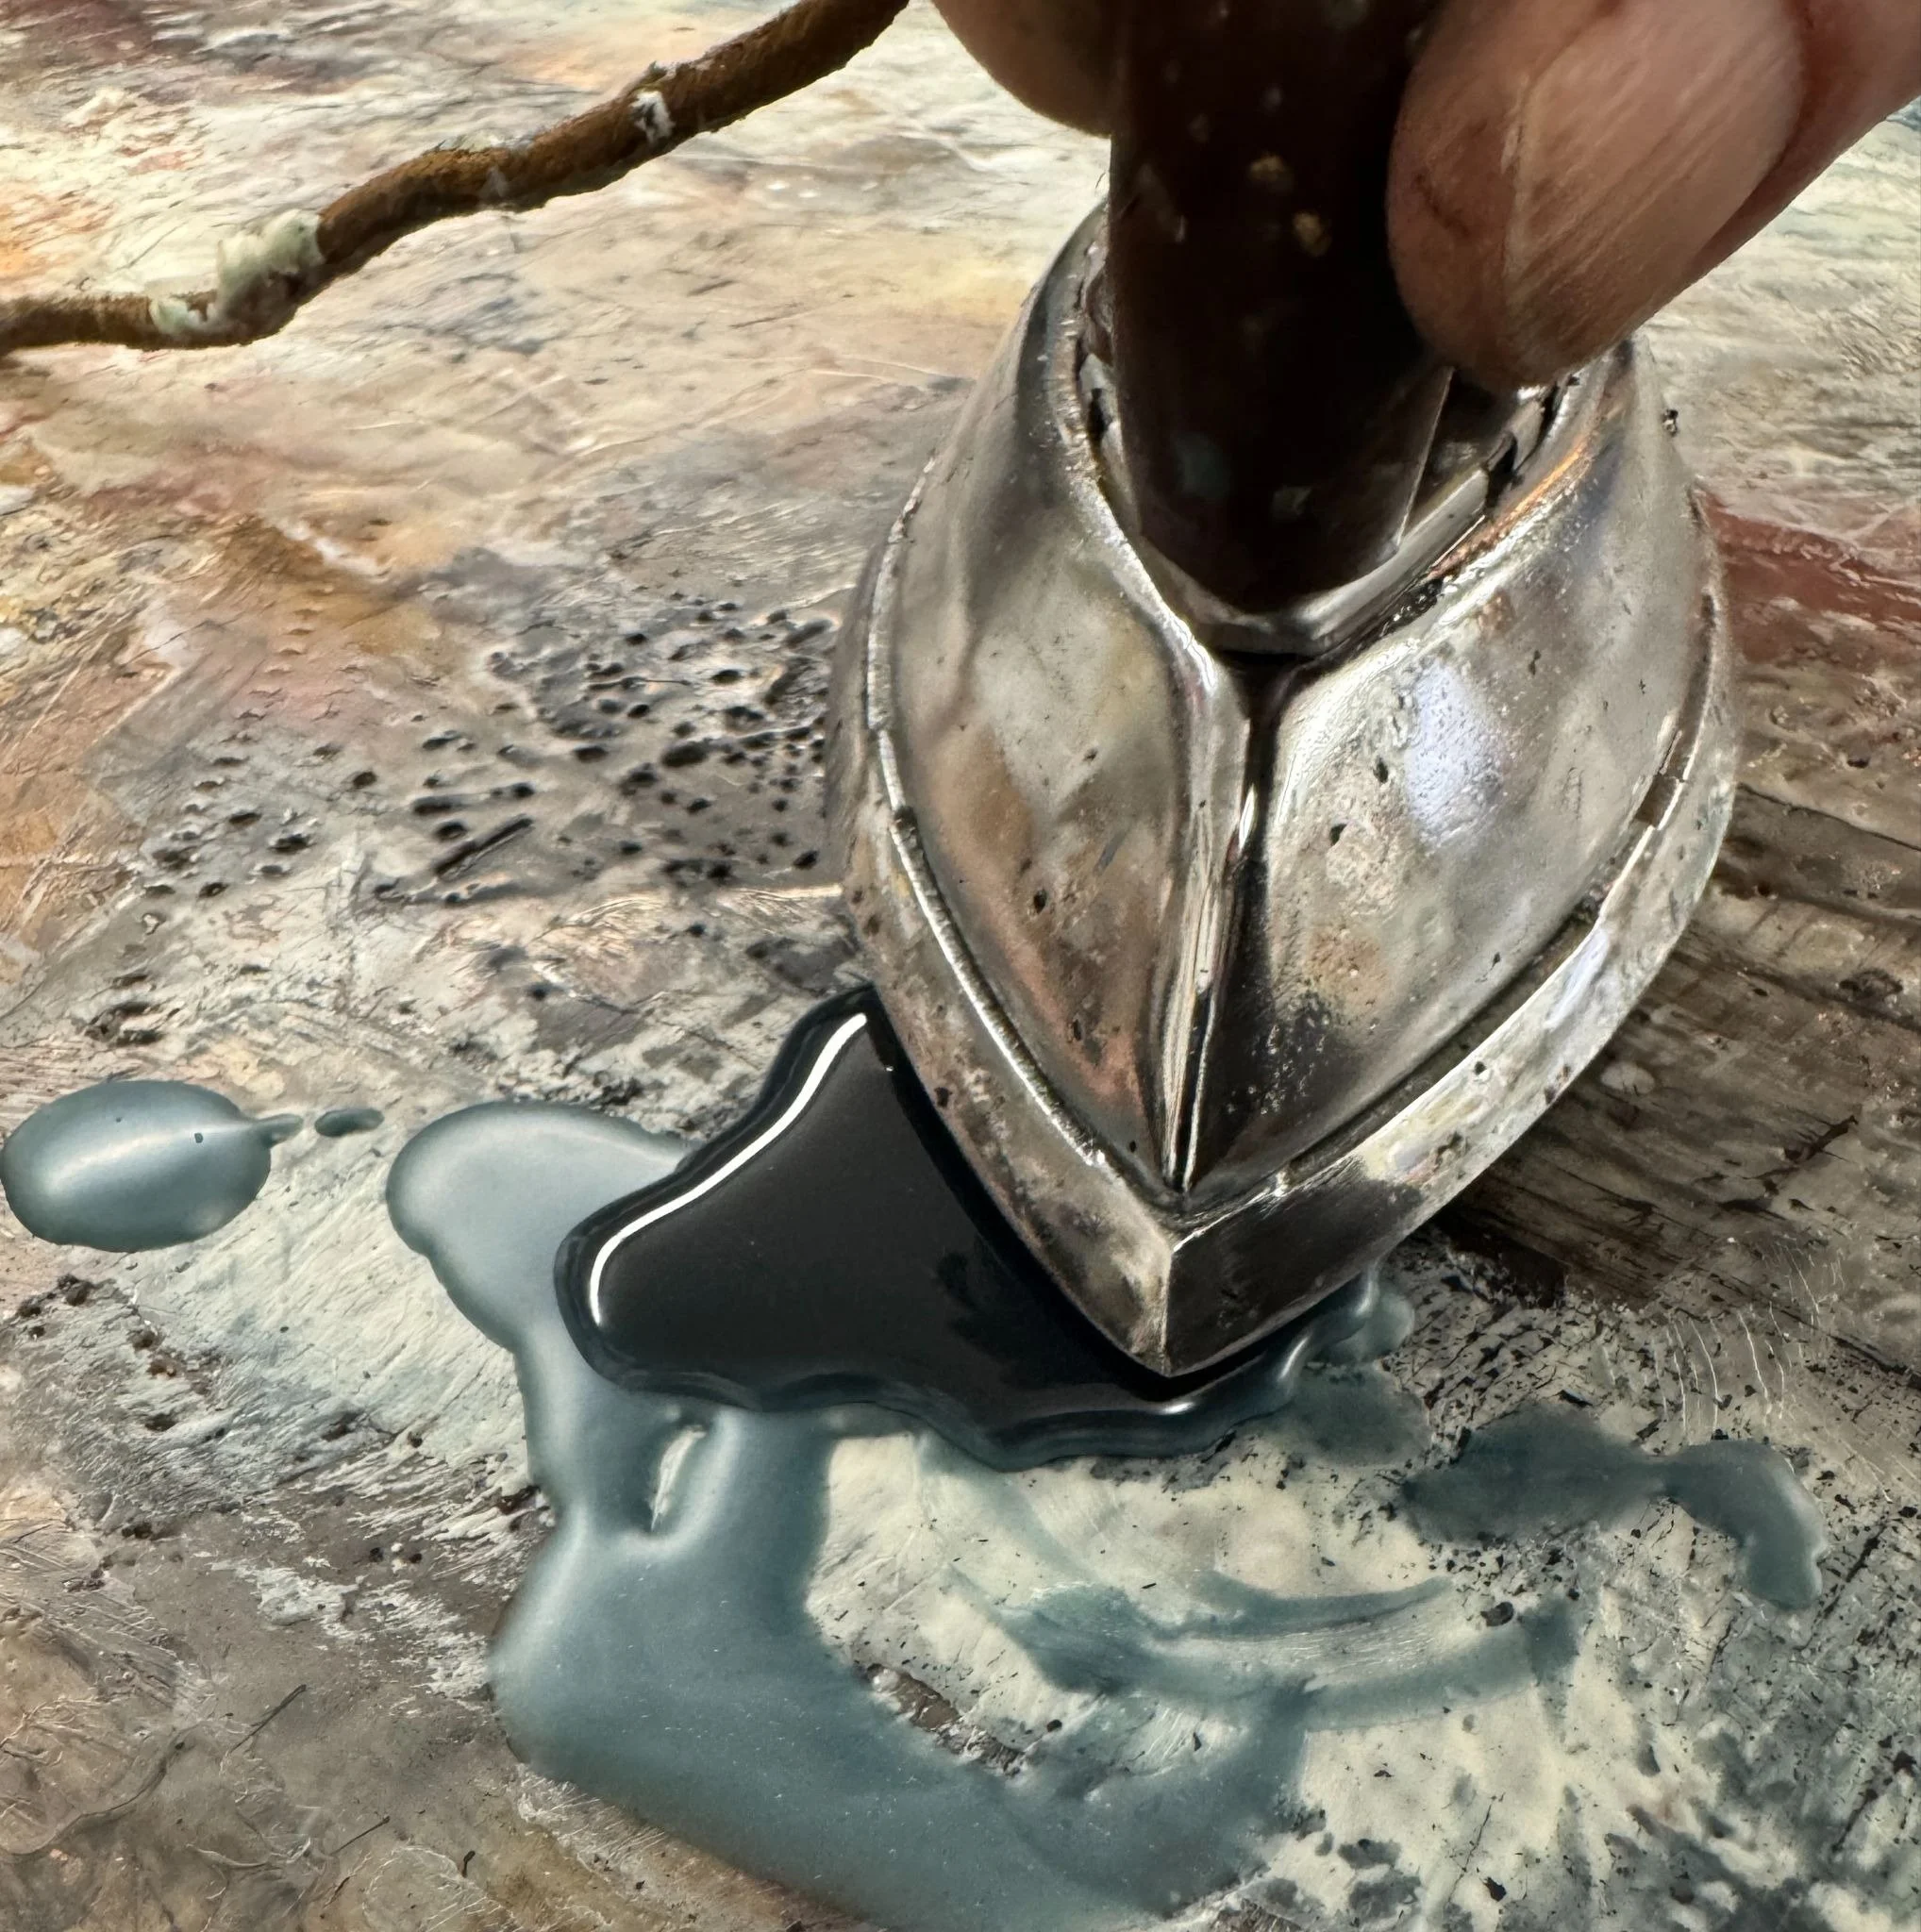
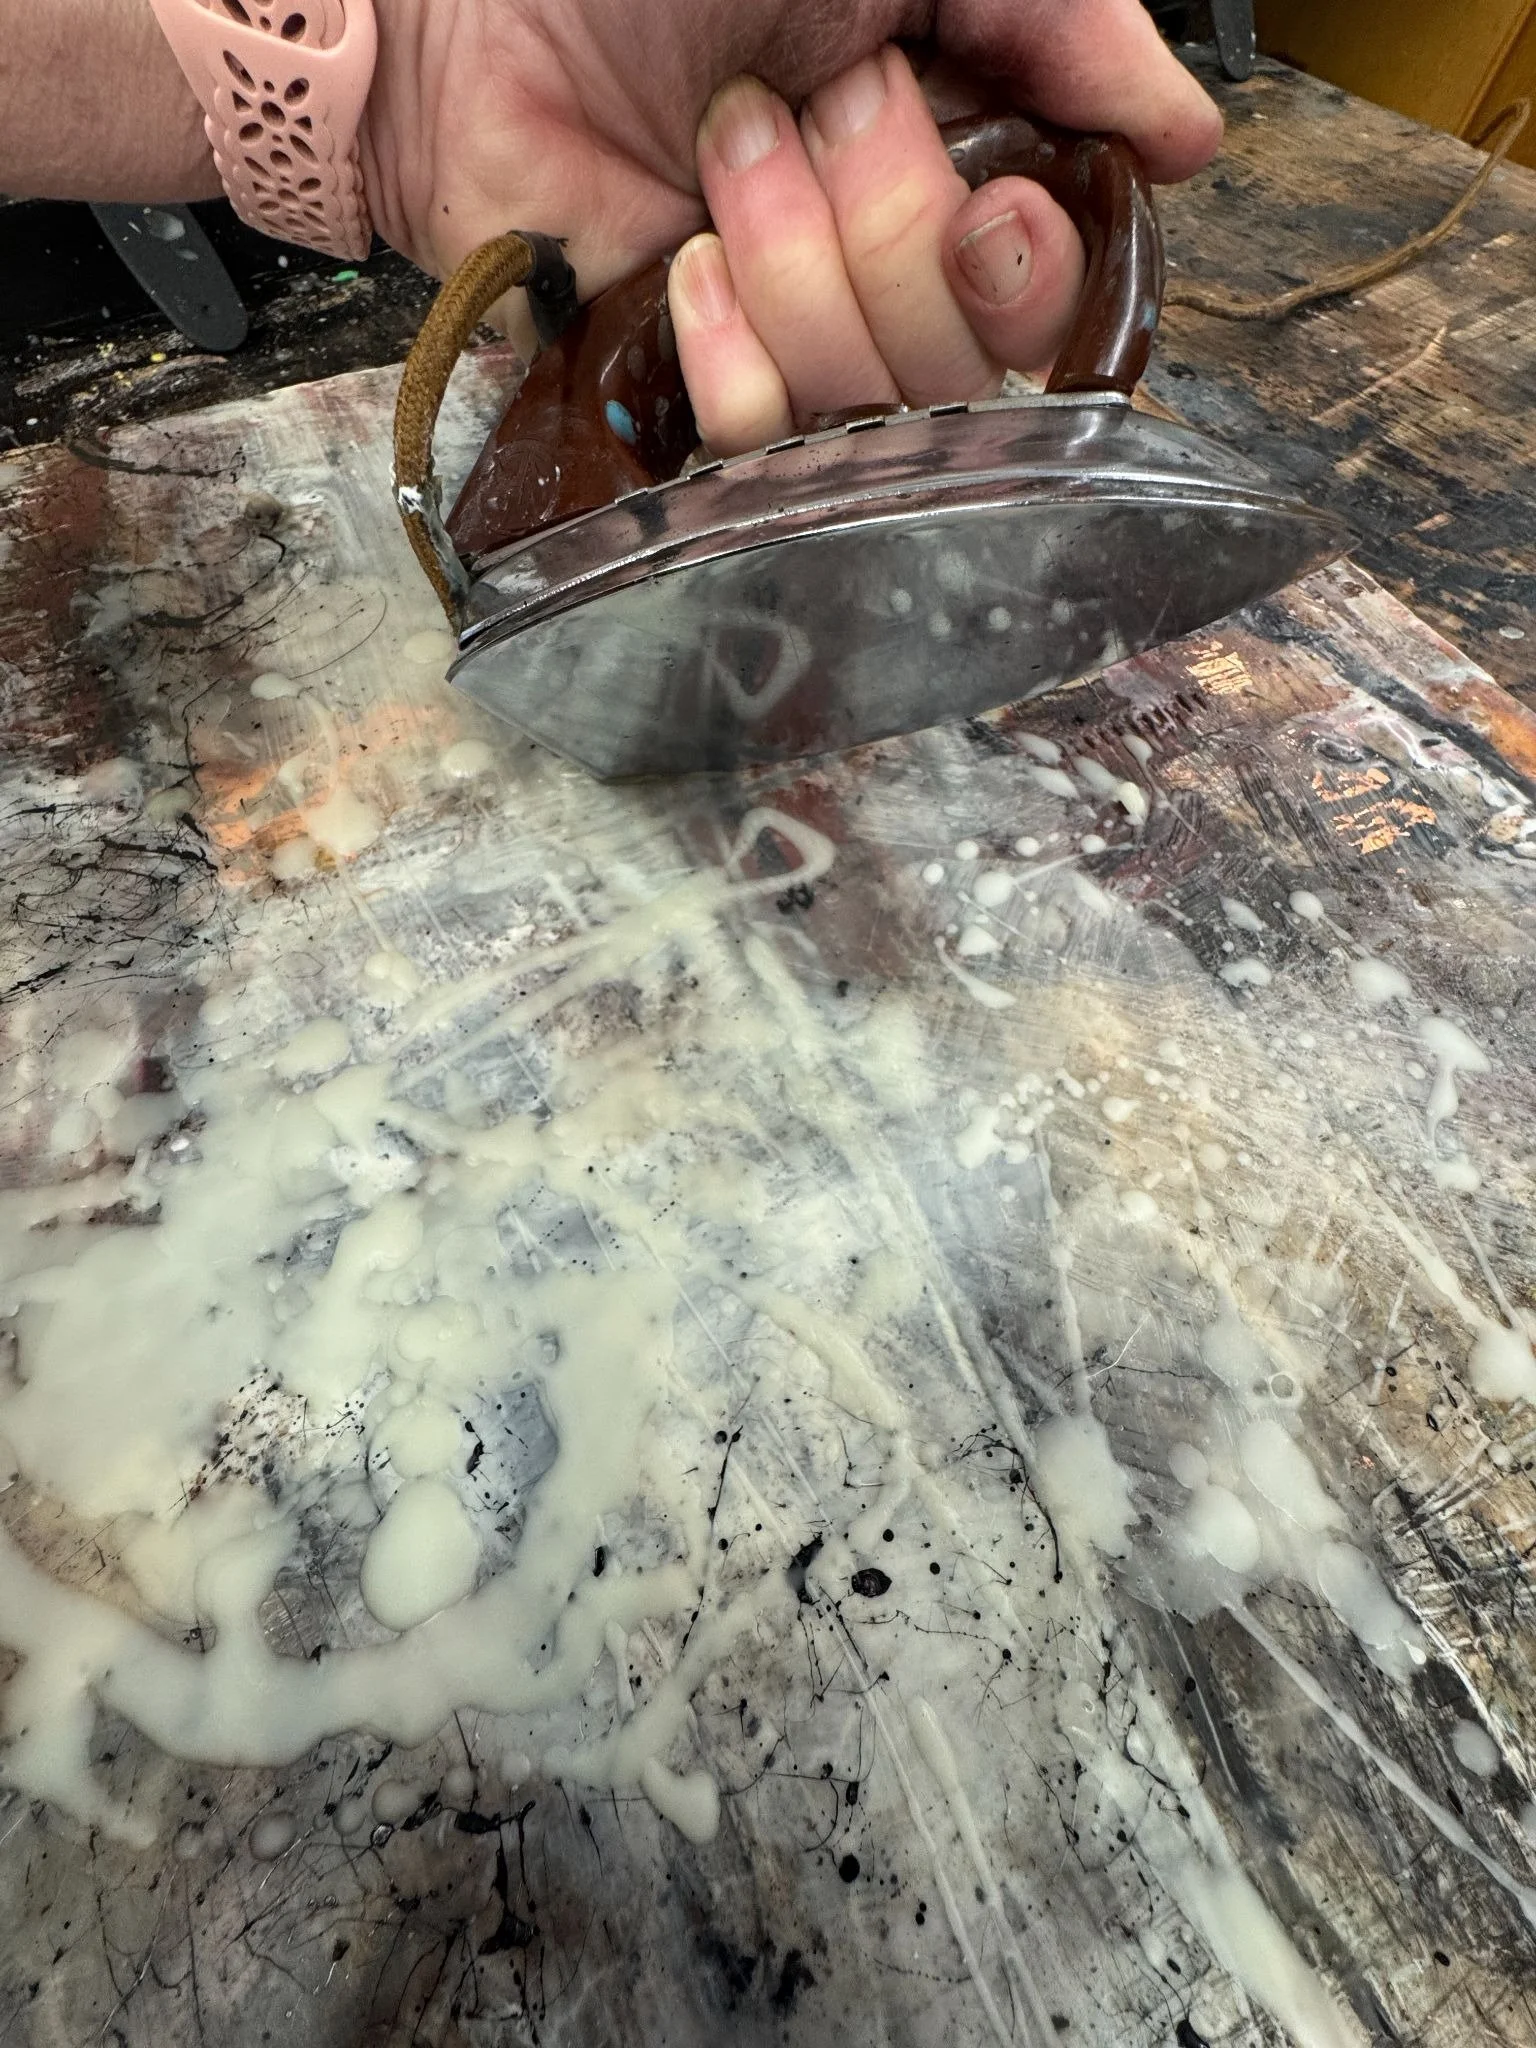
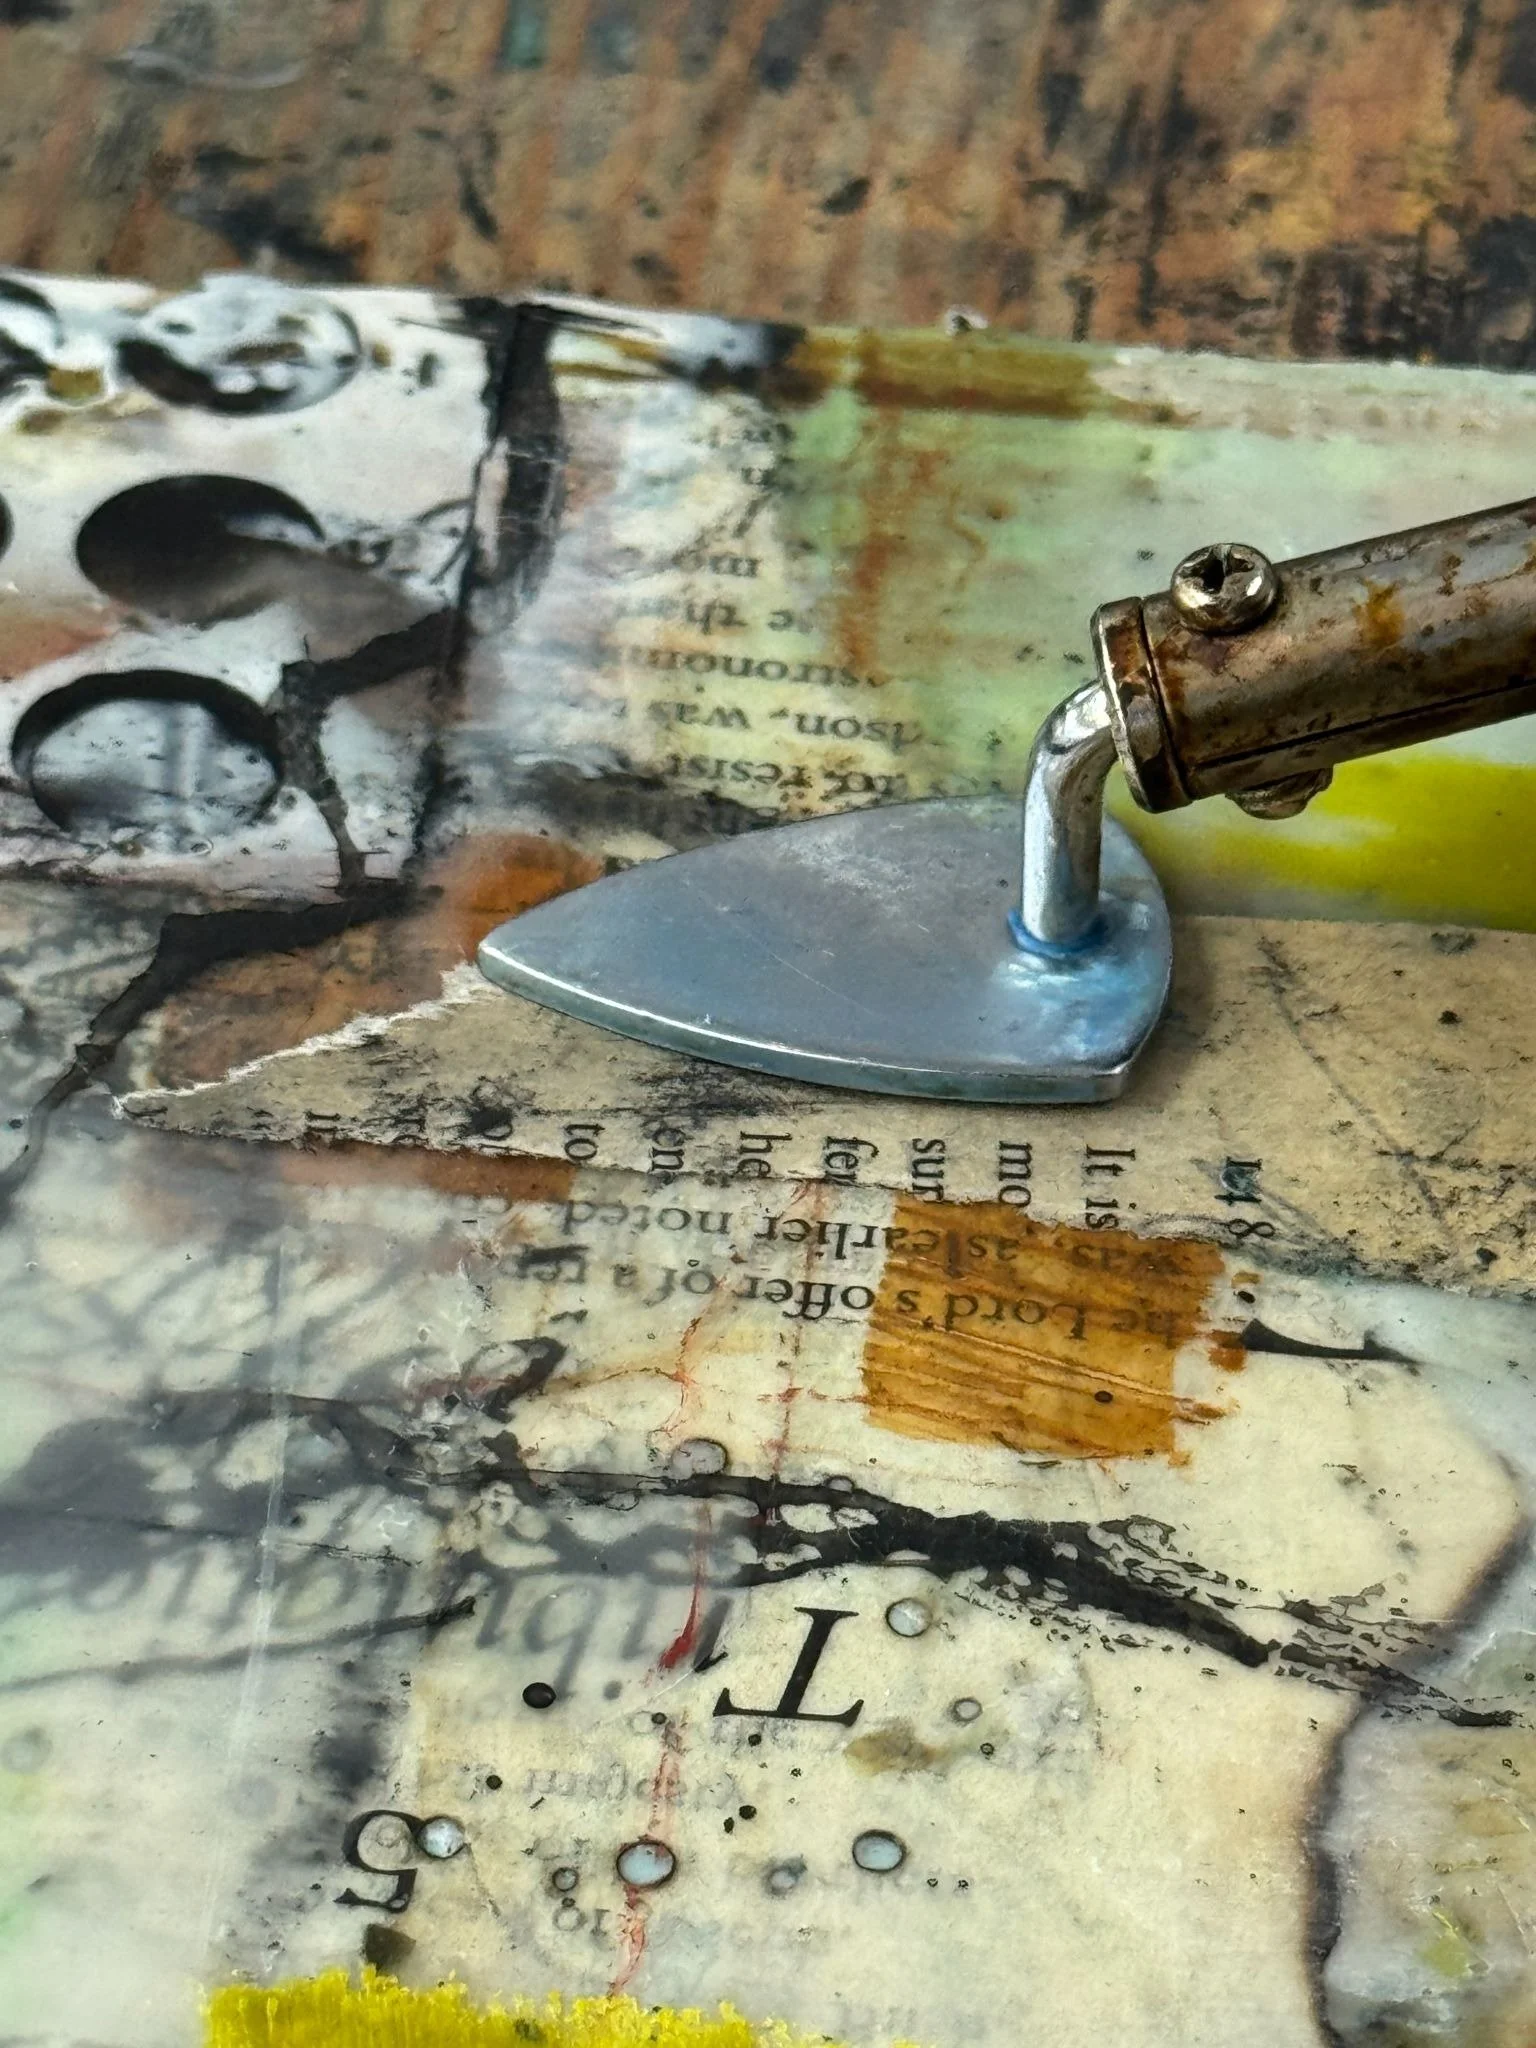
Close-up of ironing hot pour.
To find this range on your specific iron, start at the lowest setting and test on a scrap board or the edge of your panel. Gradually increase the setting until you feel the wax move under the iron without sticking, but before it becomes a runaway puddle.
Many irons are hotter at the beginning of a pass because they've been sitting, then cool slightly as you work, so I often move faster at the start of an ironing pass and slow down as the iron temperature stabilizes. Over time you'll learn to read the wax as your best thermometer.
Safety note: never leave an iron plugged in when you're not actively using it. Treat it like a torch: it's either in your hand with your attention on the work, or it's unplugged and cooling.
Movement and Pressure
Once the temperature is set, movement is the next major variable: how fast you move, whether you pause, and whether you're making short strokes or long smooth passes.
A long pause in one spot almost always creates an uncontrolled puddle or a halo where overheated wax pulls away from an area. Smooth, consistent passes—like reading a page—allow for more even results; pick up the iron between lines to let the temp recover slightly, and use that moment to wipe the plate with a paper towel between passes. Short, choppy cross-hatching movements show up as "chatter" and create interesting textures.
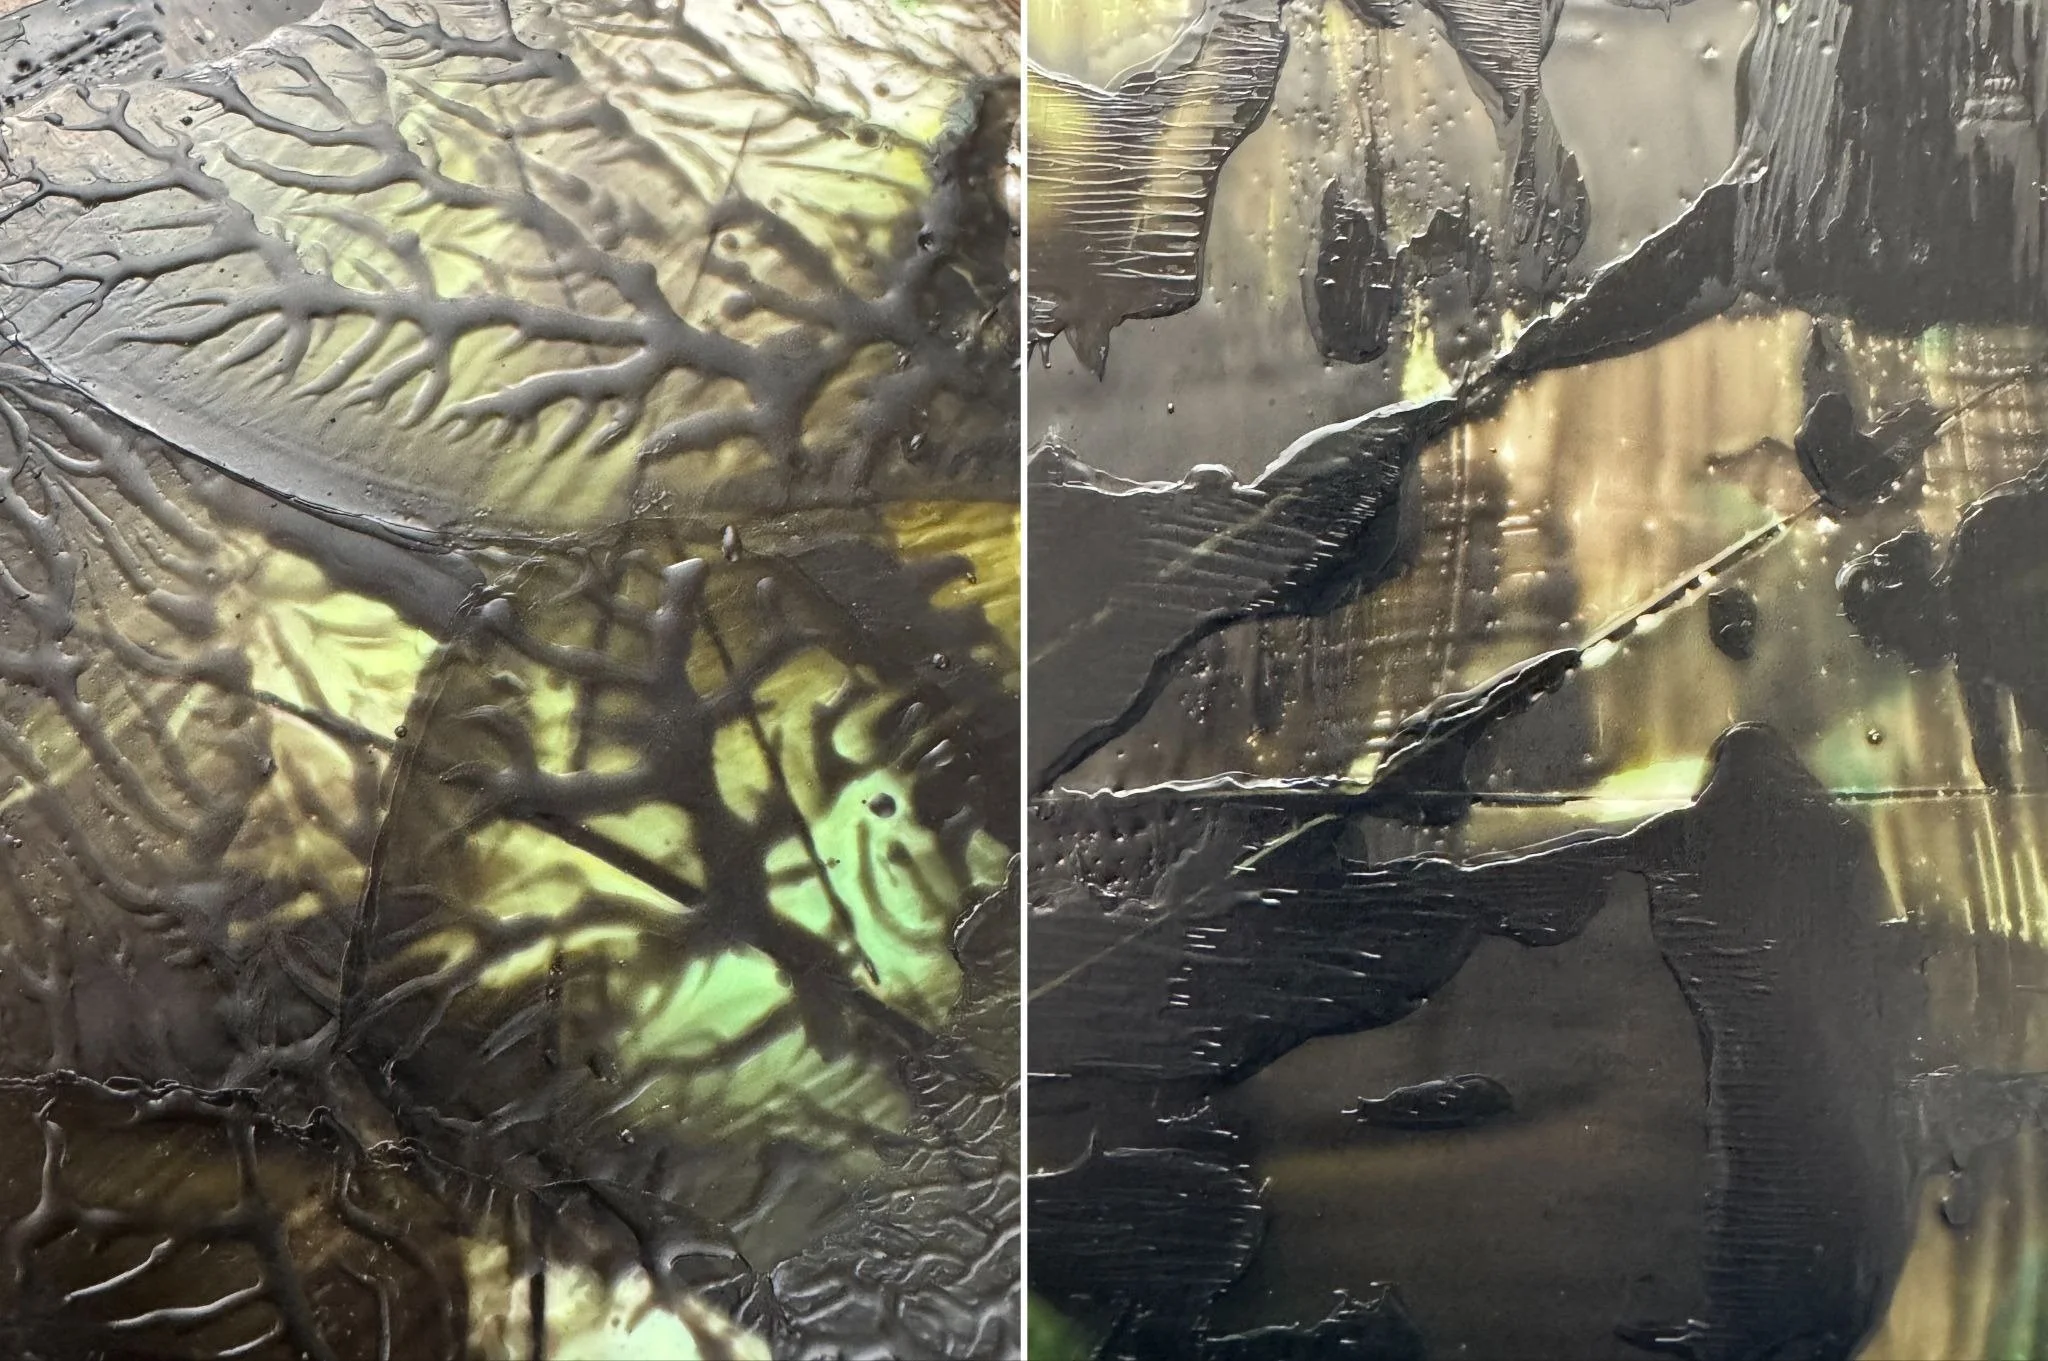
Sequence of iron passes showing different movement/pressure effects. Image 1: Lift Image 2: Cross stroke.
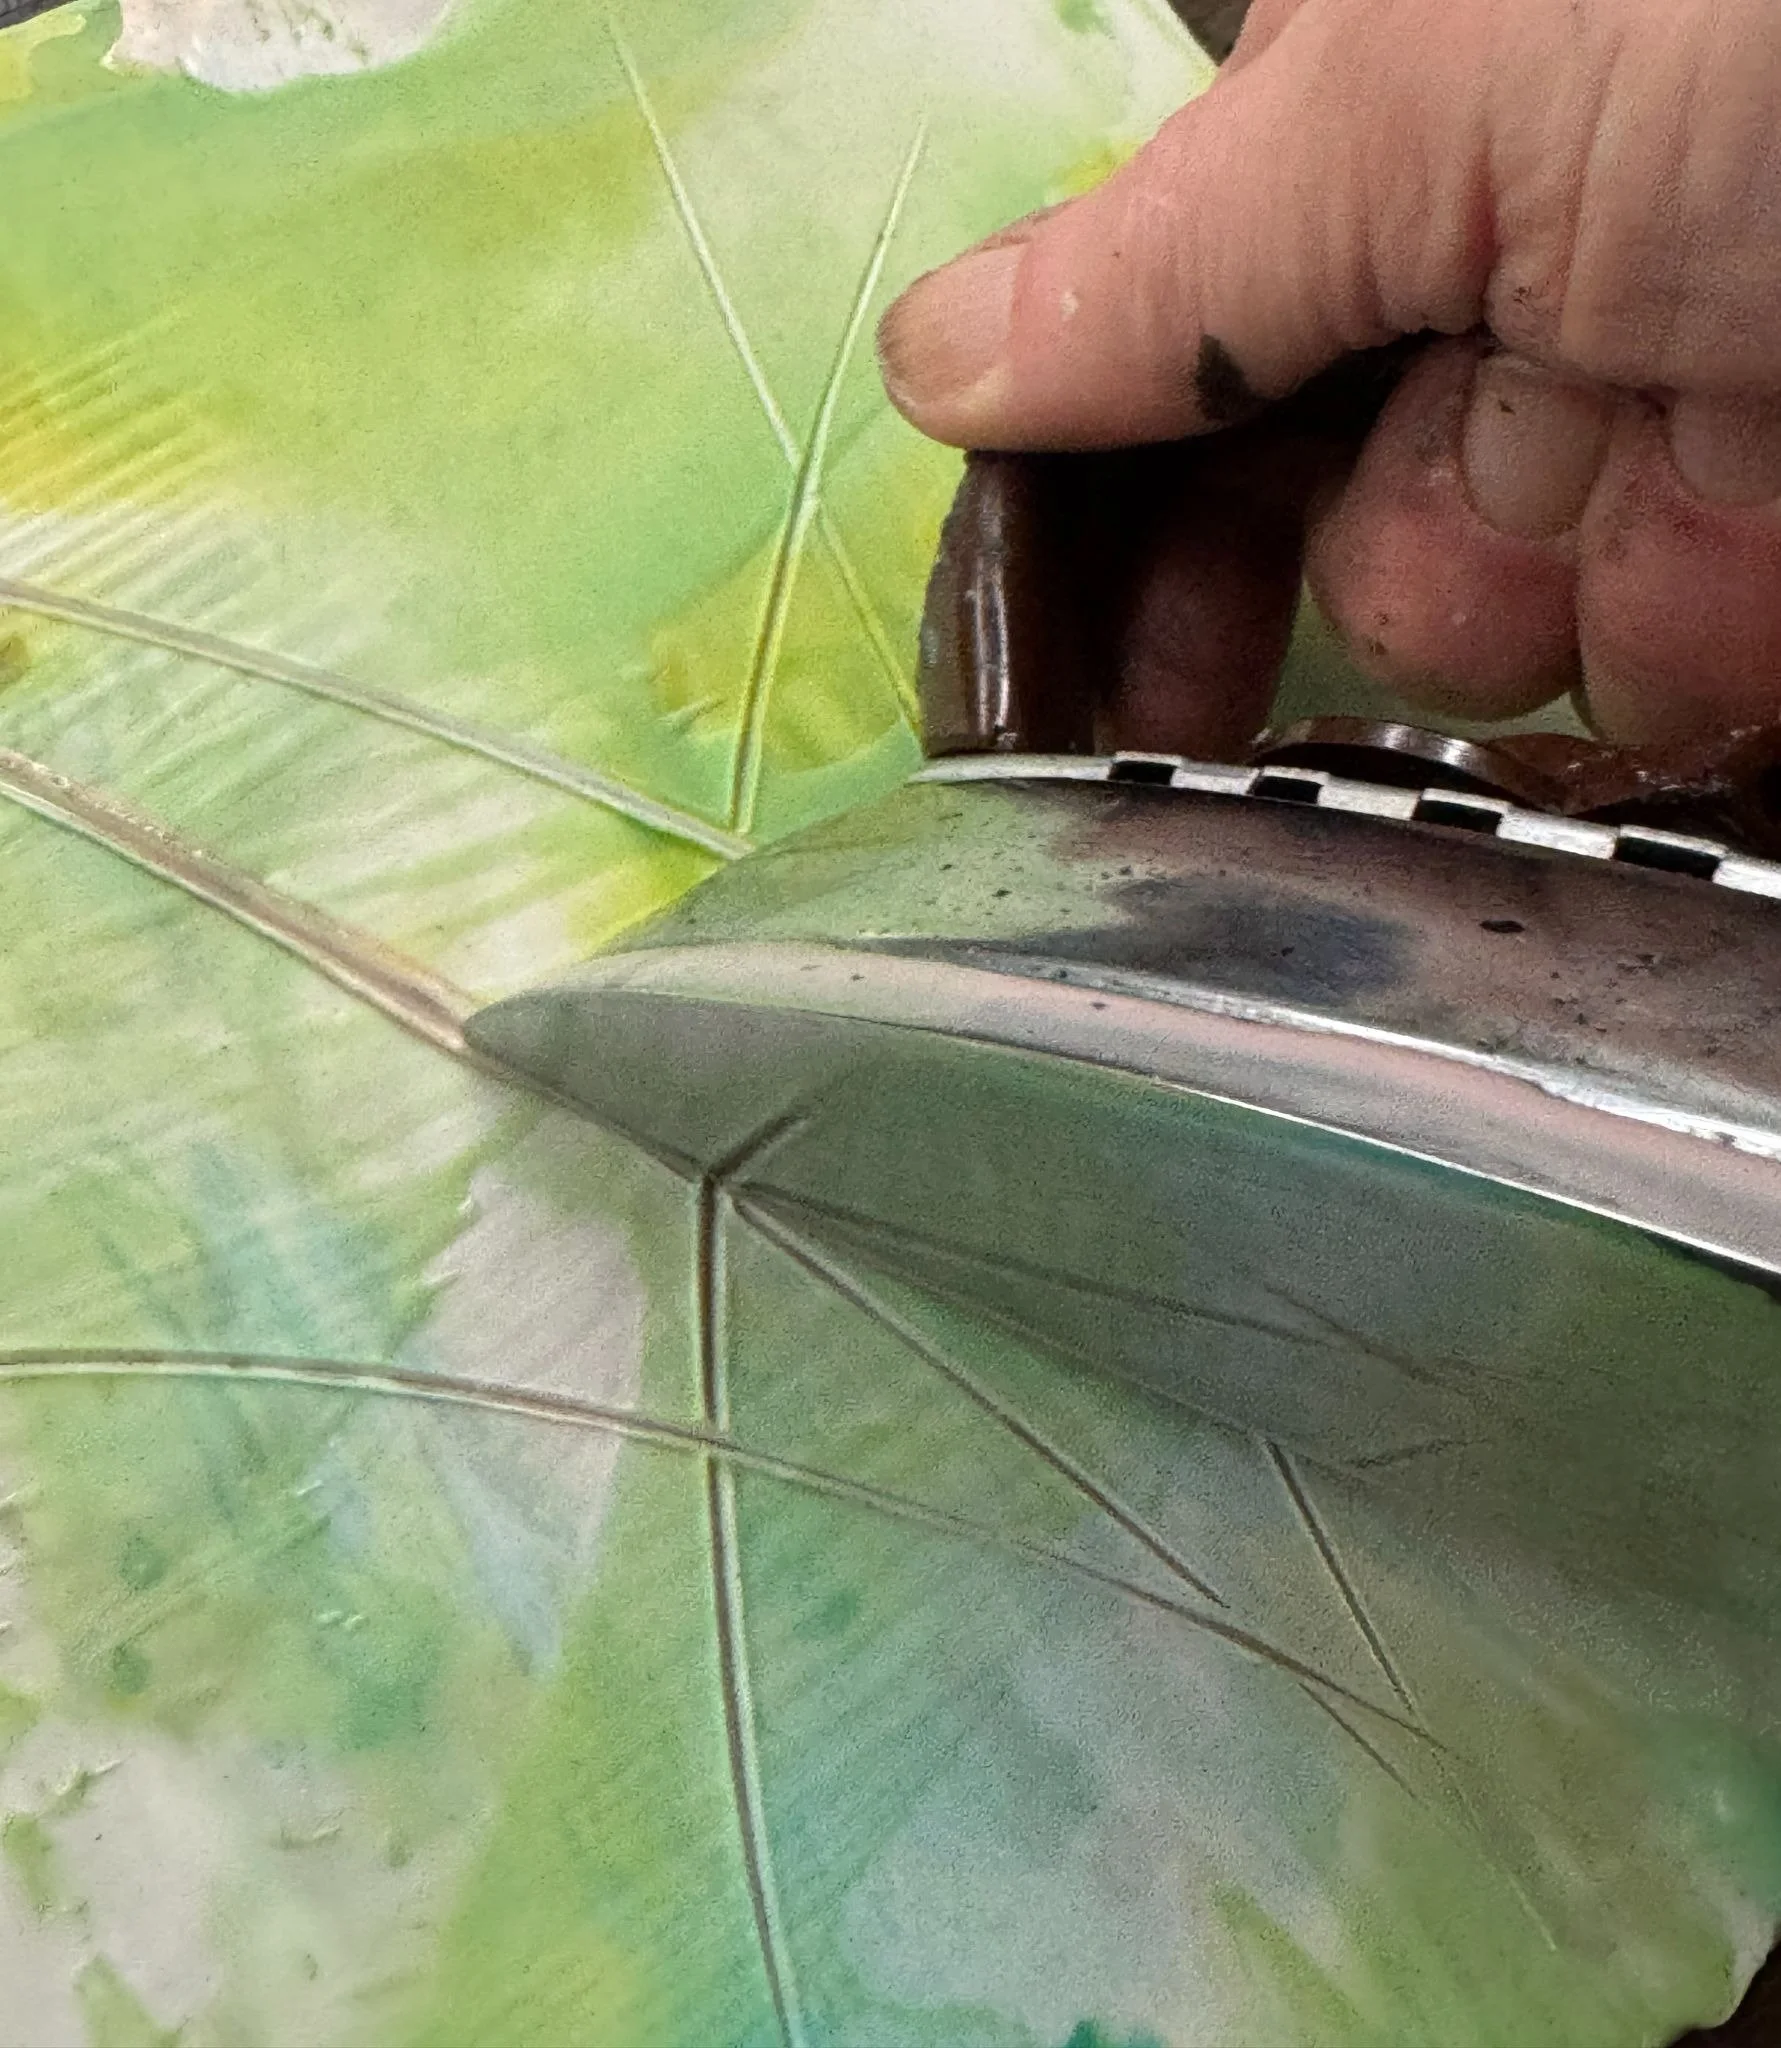
Working on texture and incising with edge.
Pressure is the third part of this equation: how hard you press, combined with the weight of the iron itself. Heavier irons do some of the work for you and are great for large, flat fields of color, because you can often just let the weight of the iron do the leveling. Lighter irons offer more finesse in small areas or for collage. A good starting point is to use the lightest pressure that still moves wax, and only add pressure intentionally when you want more spread and leveling.
In general, higher heat, slower movement, and heavier pressure increase spread and flattening, while lower heat, faster movement, and lighter pressure help preserve ridges and leave more pronounced directional marks and texture.
My rule of thumb: use the technique, don't let it use you. If the iron is bossing you around, simplify and reset your variables.
Reading the Wax and Using Gesture
The temperature and texture state of the wax matters just as much as iron settings. Wax that is cold will respond differently than wax that is freshly molten from fusing or being poured. If your surface has existing texture from accretion, pouring, scraping, or drizzles, then a quick cross-hatching with the iron can leave pockets, ridges, and irregularities that remain readable even after a light fuse. I love using ironing this way—not to erase texture, but to create, manipulate, and refine it.
Your gestures with the iron create different mark families. Short strokes versus long, smooth passes produce distinctly different rhythms. Lifting the iron straight up can leave organic imprints, while a steady, consistent pass tends to flatten and blend the surface. A quick cross-hatch movement over uneven, built-up wax creates small pockets and ridges that are ideal for R&F Pigment Stick® later; those recesses catch and hold color in a way that accentuates the surface. An undulating, wave-like movement can suggest shorelines, cloud bands, or dunes. For sharper marks and incising, you can tip the iron onto its edge to carve grooves and linear tracks, almost like drawing with a hot blade.
Working Big
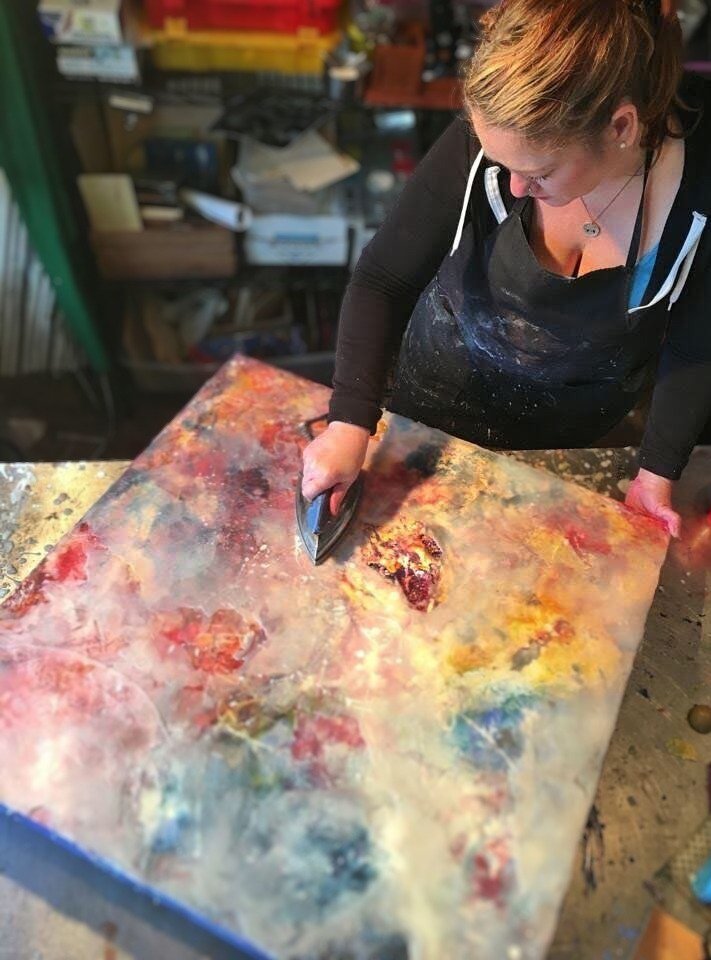
On large-format work, ironing really earns its place. I set the iron hot enough to fuse the layer and move wax without over-liquefying it, aiming for a controlled fuse where wax softens and bonds as the iron passes but stays viscous enough that I can steer it rather than chase it. I often divide a panel into sections and work across them systematically so one area isn't repeatedly overheated while another barely gets touched.
I do fuse with a torch after a few passes with the iron, but only until the surface just glistens; I don't want to erase the directional marks from the iron work. Think of the torch as a way to lock in your ironing rather than as a total re-fuse. To protect the piece long-term, I finish with a light fuse around the edges and corners, since iron-fused edges can be more brittle and prone to chipping.
Color, R&F Pigment Stick®, and Stencils
Because ironing can function as direct color mixing, it helps to plan for color interaction before you start. Without separation, colors can mix quickly and slide toward mud, especially if you're working slowly with a hot iron over complex passages.
I use clear encaustic medium between colors on a single layer and between colors themselves. Those clear layers create buffers that minimize unintended mixing while still allowing you to move paint with the iron and build subtle transitions.
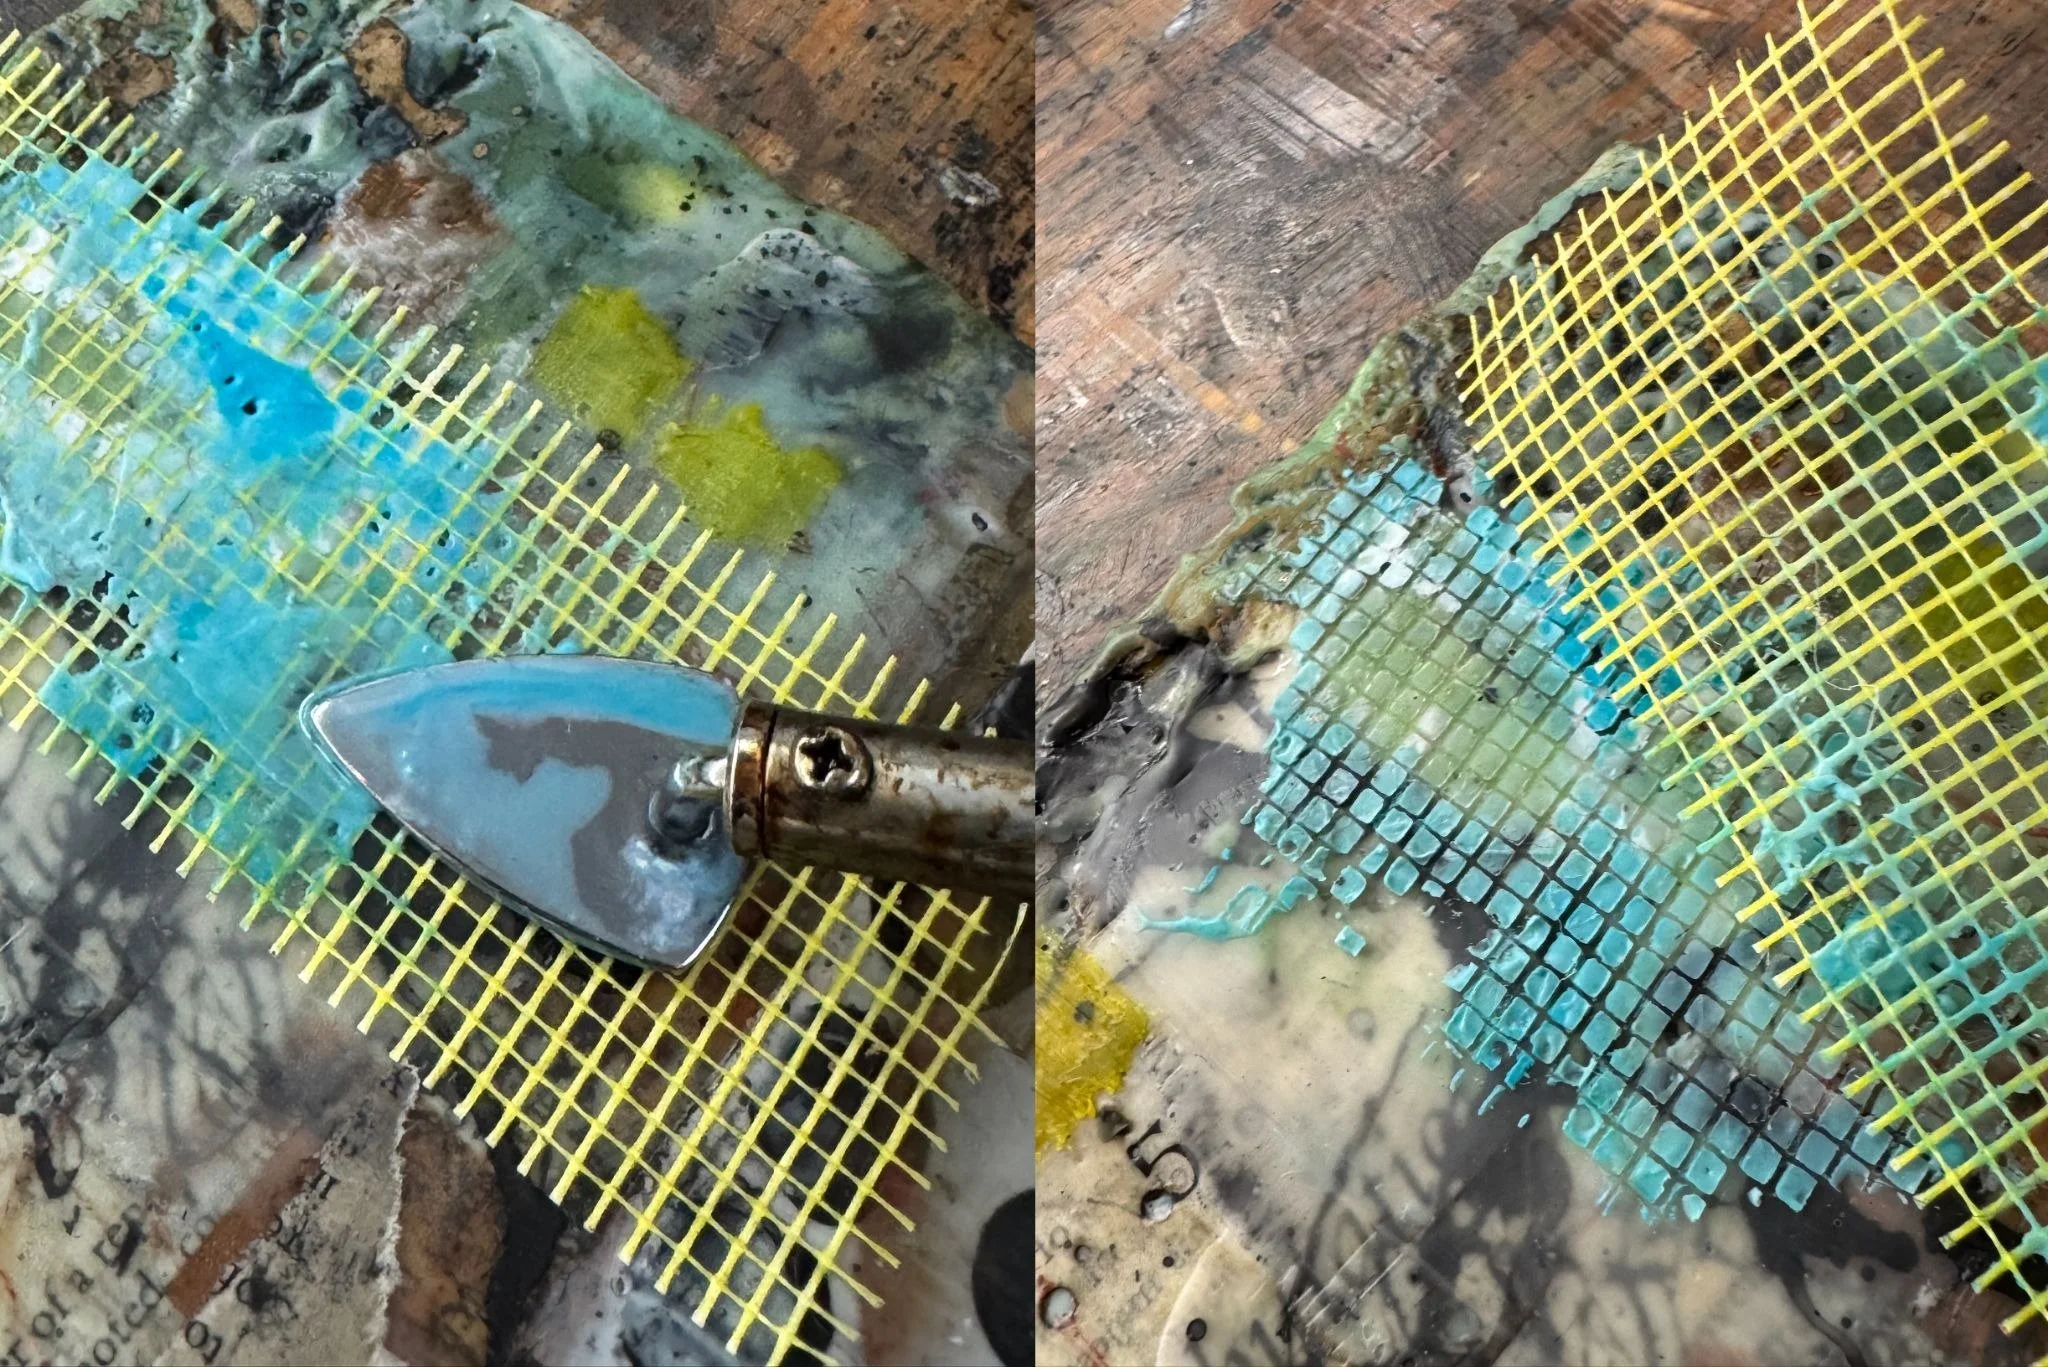
Irons also play especially well with heat-resistant stencils. Pressing and gliding the iron over a stencil pushes wax into tiny openings and creates crisp edges along with rich texture in one pass. A useful trick is to pay attention to timing: you want the wax to be in its warmest, just-set state when you pull the stencil—warm enough that it releases cleanly but set enough that it stays on the panel instead of traveling up with the stencil.
With larger stencils, you can run the iron across in sections and slowly lift the stencil, following just behind the iron as the wax sets so you get a clean pull. If you iron the whole stencil and then stop to pull it all at once, the wax will have cooled and bonded to the stencil, and you're more likely to lift wax off the surface instead of leaving a crisp edge. Stencils are a practical way to introduce detail and repeated pattern without shifting into fussy, small-tool work, and they pair beautifully with a final layer of R&F Pigment Stick® that catches on the raised stencil edges and iron-made textures.
Ironing Exercise
If ironing still feels intimidating, treat it like doing pages of mark-making exercises rather than a make-or-break moment on a finished painting. Start with several small to medium panels, each coated with a few layers of clear encaustic medium.
On the first panel, keep things simple: warm the surface, set your iron in the 180–200°F zone, and make long, steady strokes in one direction.
On the next panel, switch variables. Try shorter strokes, or deliberately push the wax to one side to build ridges and see how far you can move it before it feels out of control.
On your final panel, lift the iron straight up to create more organic textures and "iron stamps." You can also dedicate one or two panels to working with R&F Pigment Stick® over ironed texture—build ridges and pockets, fuse lightly, then rub color across the surface and notice where it catches. Work on both smoother surfaces and more heavily textured ones so you can see how the same gesture behaves differently.
As you go, change just one thing per panel: long strokes versus short, faster versus slower, lighter versus heavier pressure, smooth base versus textured base. This gives you a clear read on what each variable actually does, instead of everything changing at once.
You will make a lot of mistakes with ironing—that's not only okay, it's necessary if you want real mastery over your craftsmanship. The goal is to understand cause and effect well enough that you're making intentional choices with the iron, not just hoping for the best.
Travel and Voltage
If you plan to travel with an iron for workshops or residencies, think about voltage as well as size and weight. Many compact or travel-style irons are dual-voltage, designed to operate safely on both 120V and 220–240V systems when paired with the correct plug adapter. If your favorite studio iron is not dual-voltage and is designed only for North American 120V power, using it abroad with a simple plug adapter (without a voltage converter) can overheat or damage the iron and, in the worst case, create a fire hazard.
The safest options are:
Choose a dual-voltage iron and use only a plug adapter
Pair a single-voltage iron with a properly rated voltage converter designed for heating appliances
Buy an inexpensive iron locally, already matched to the country's voltage and outlet style, and dedicate it to encaustic
Kelly Williams is a painter and educator with over 20 years of professional experience. With a background in psychology and social work, Kelly approaches art as both a personal practice and a tool for communication, healing, and resilience.
Kelly offers encaustic painting workshops in her studio in Portland, Oregon. Visit kellywilliamsart.com to learn more.